Workspace Areas - Active Project Model Tree - 3d view - 2D Building Canvas
Related Tabs- Building - Building Stories - Glazing - Custom Glazing - Custom Spaces
The Tools tab includes features to:
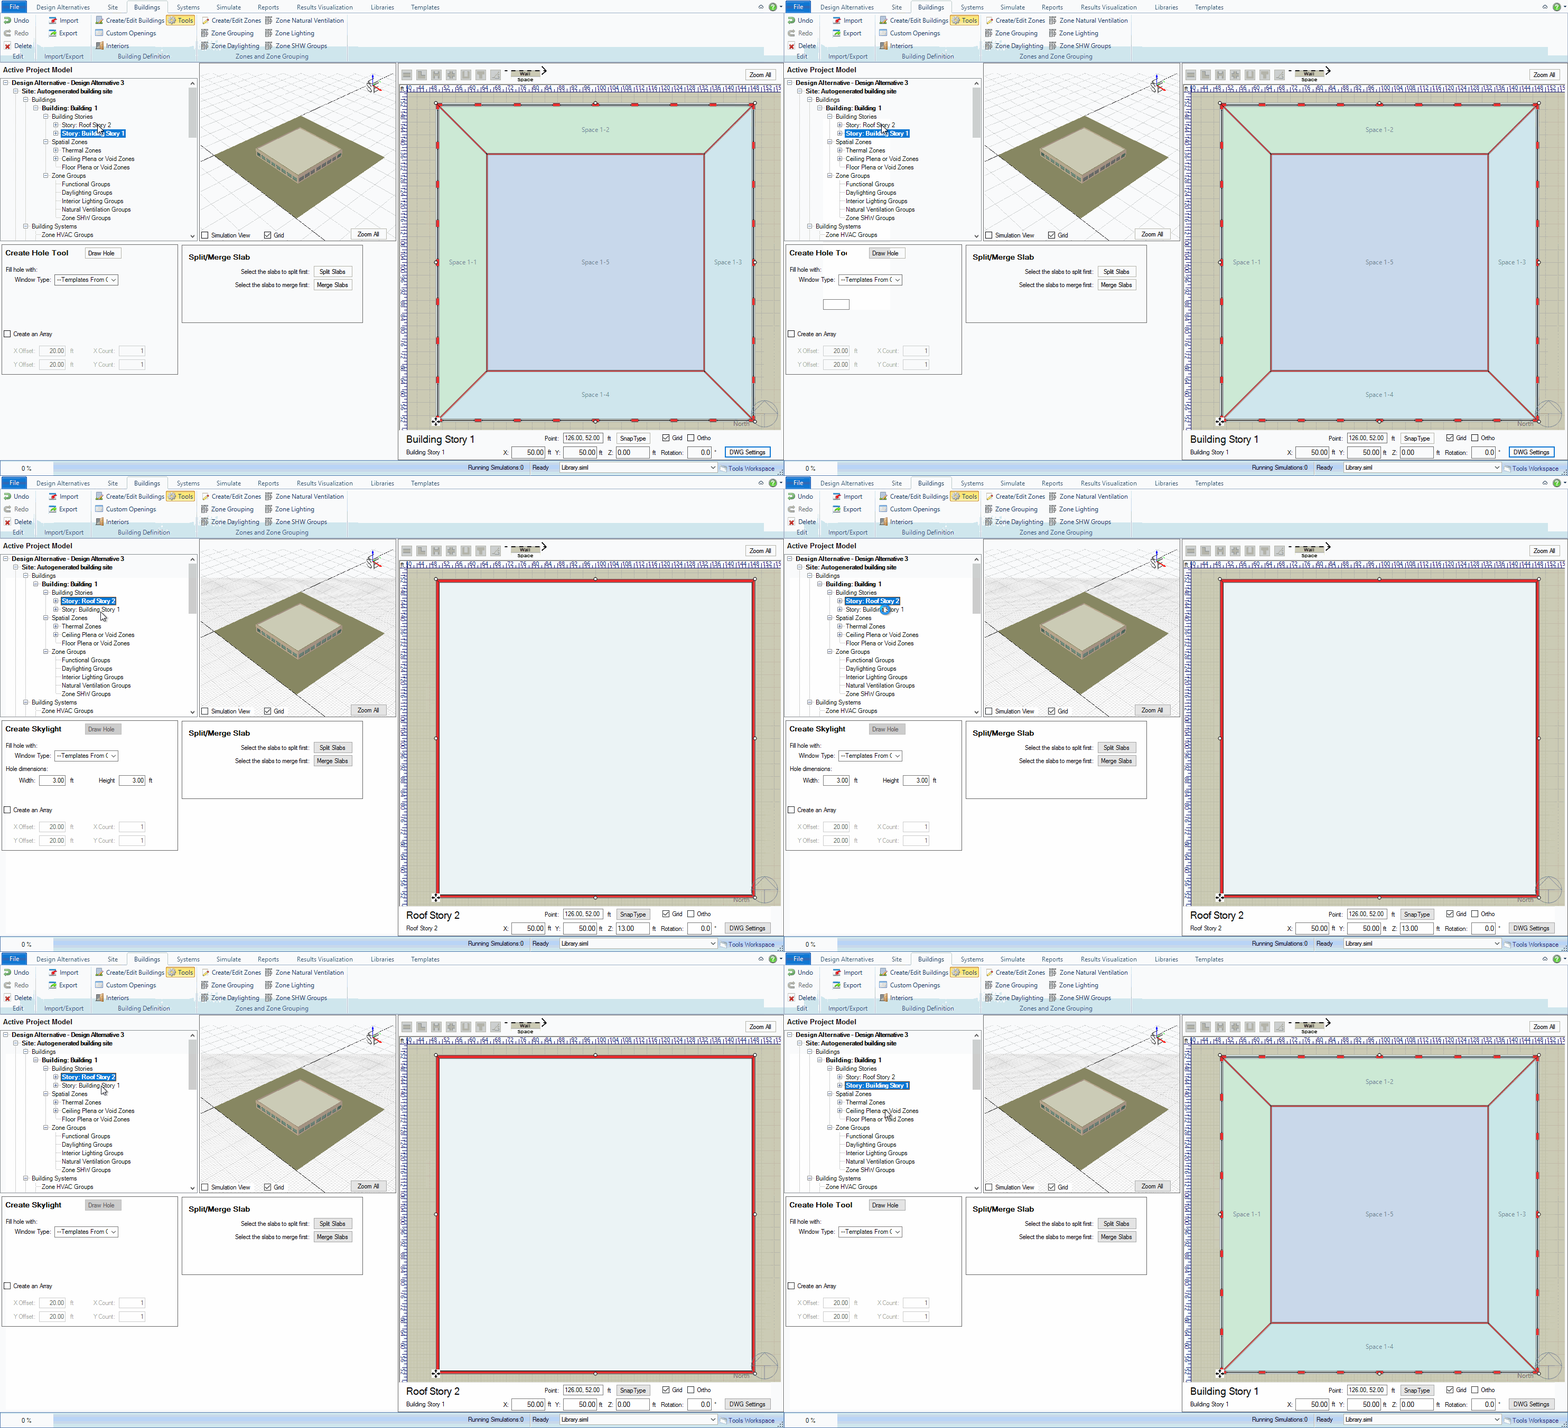
This animation shows the two "modes" of the Tools workspace - the difference being that the Skylight tool is available when the roof is selected and the Slab Hole tool is available when lower stories are selected.

Allows you to draw a hole in a slab to create thermal zones vertically. Enabled when a story that is not the roof and is not the bottom story is selected.
Activates the 2d view and allows the user to draw wall segments using the Simergy drawing tools and snap settings. Once the user completes drawing the desired boundary, they will need to select Draw again to disable drawing mode.
Optional when drawing a slab holel -- Allows the user to select a window construction (Material Layer Set) to fill the hole in the slab.
When enabled, an array of holes is drawn. The quantity and offset distance for X and Y axes are controlled with text boxes that become enabled when Array is enabled.
Allows you to place skylights when the roof is selected.
Activates the skylight "placement" tool, once you have chosen a window construction. Once activated, clicking on the roof in the 2D view will place a skylight of the selected Width and Height. The point you click on the roof will become the "origin" for the skylight.
Required for skylights -- Allows the user to select a window construction (Material Layer Set) to fill the hole in the roof.
When enabled, an array of holes is drawn. The quantity and offset distance for X and Y axes are controlled with text boxes that become enabled when Array is enabled.
Clicking Split Slab will split the selected slab into slabs that match the spaces on that building story.
Any adjacent slabs on the same building story can be merged by selecting them and clicking Merge Slabs.
This example will start with a two-story building.
The bottom structural slab (in this case - Building Story 1) cannot have holes.
Select the slab for the 2nd Building Story in the Project Tree.
With the appropriate slab selected, click Draw Hole to initiate drawing mode in the 2D view.
Draw the boundary of the hole you'd like to create, and once the line is closed, select Draw Hole again to save the slab hole to the model and disable drawing mode.
The hole can be viewed in the 3D window by hiding the objects that block it from sight.
Creating Skylights is similar to drawing Slab Holes, but there are some key differences:
To place a Skylight:
Select the roof of the building
Select a window construction
Enter the preferred Width and Height values
Click Draw Hole
Click in the 2D plan view to place the Skylight
To create an array of Skylights:
first enable "Create an Array"
enter the preferred Offset and Count values for X and Y
Click Draw Hole and follow the same steps for one skylight.
A slab can be split into smaller slabs that match the shapes of the occupied spaces on that floor.
To split a slab, you simply have to select it and click "Split Slabs" in the Tools workspace.
The easiest slab to try this on is the bottom floor as you don't have to hide a bunch of other objects to see it in 3D.
Multiple adjacent slabs on any single floor can be merged into a single slab.
Simply select the slabs you wish to merge and click "Merge Slabs".
______________________________________________________________________________________
© Copyright 2013 Simergy, Sustainable IQ, Inc.