Related Workspaces - Geometry - Glazing - Custom Glazing - Wall Tools - 3D View - 2D view
Related Topics - How to Import a DWG/DXF
Allows you to create custom spaces and thermal zones within a BEM by splitting spaces, drawing new and/or editing the properties of different spaces.
Note: Custom Openings, Interiors and Tools have their own buttons in the ribbon menu under "Buildings Definition" to reach those workspaces. You will not be able to use these workspaces until after Building Geometry has been created and Saved to the Simergy Model.
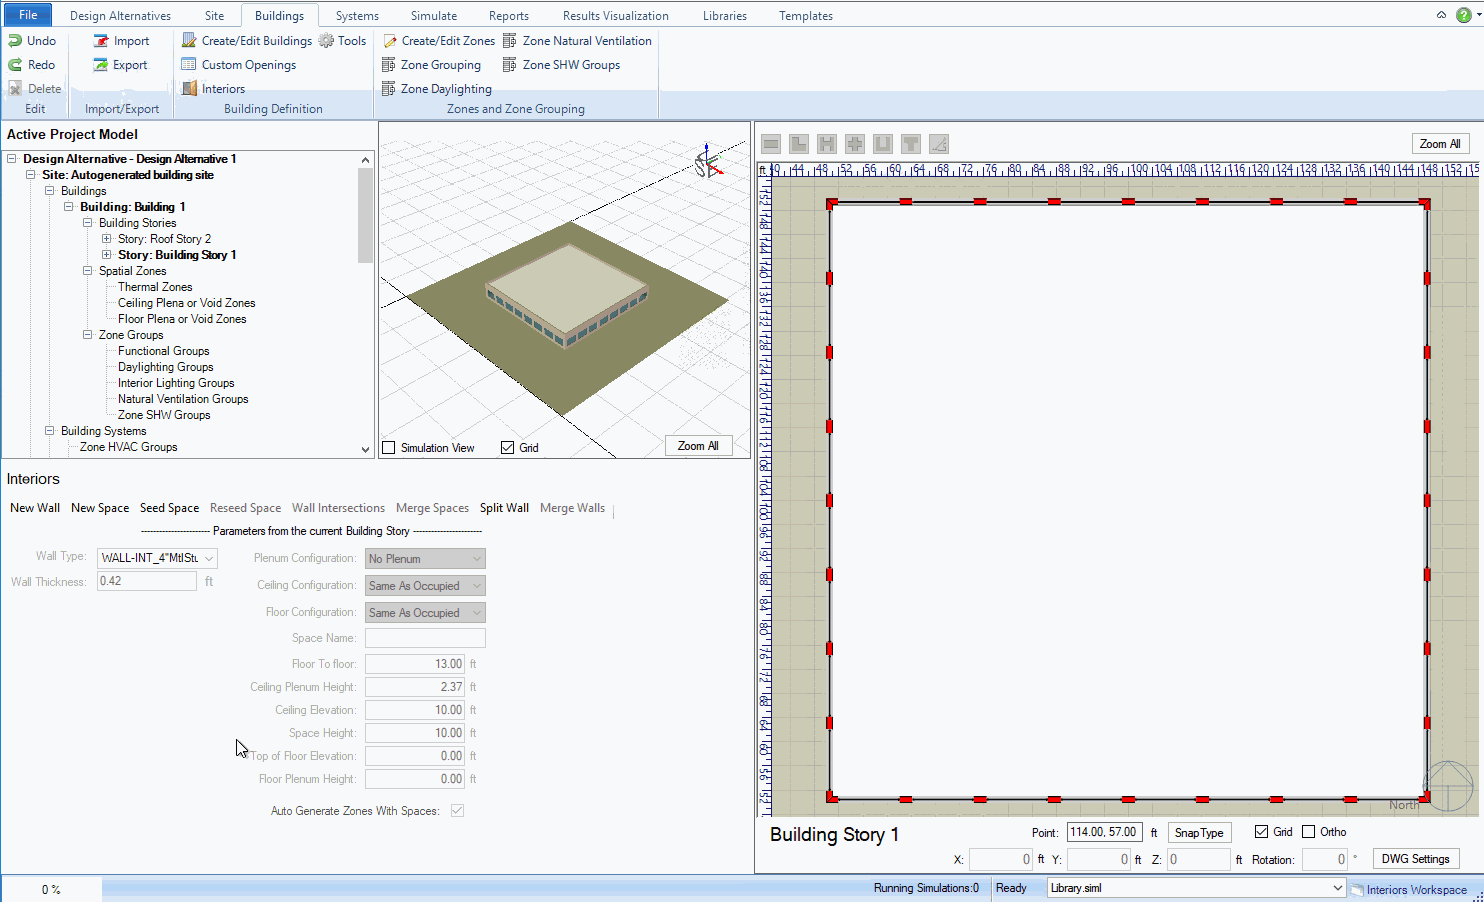
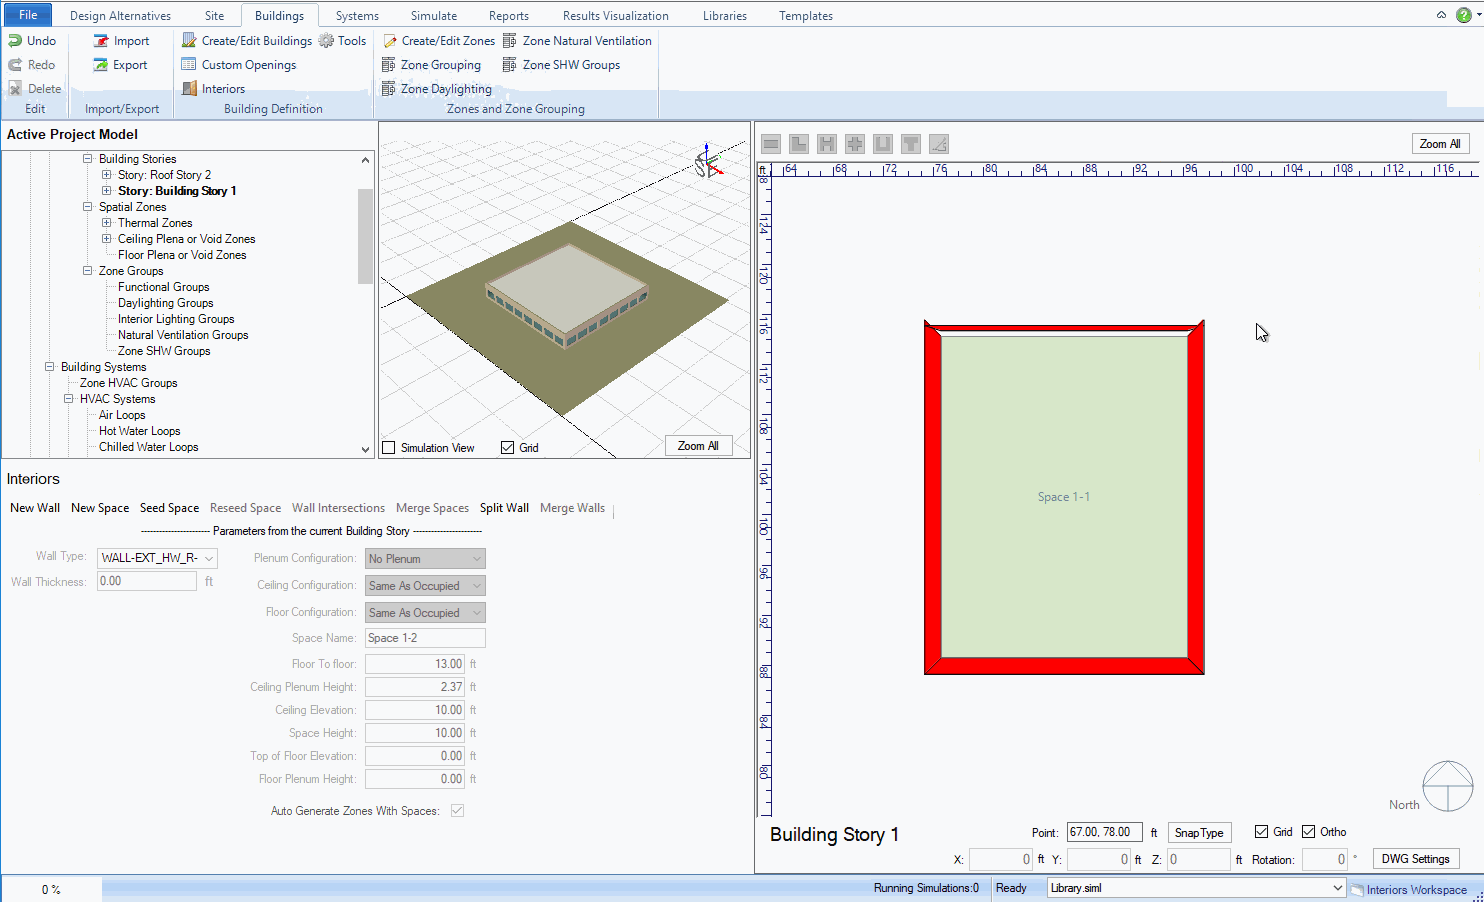
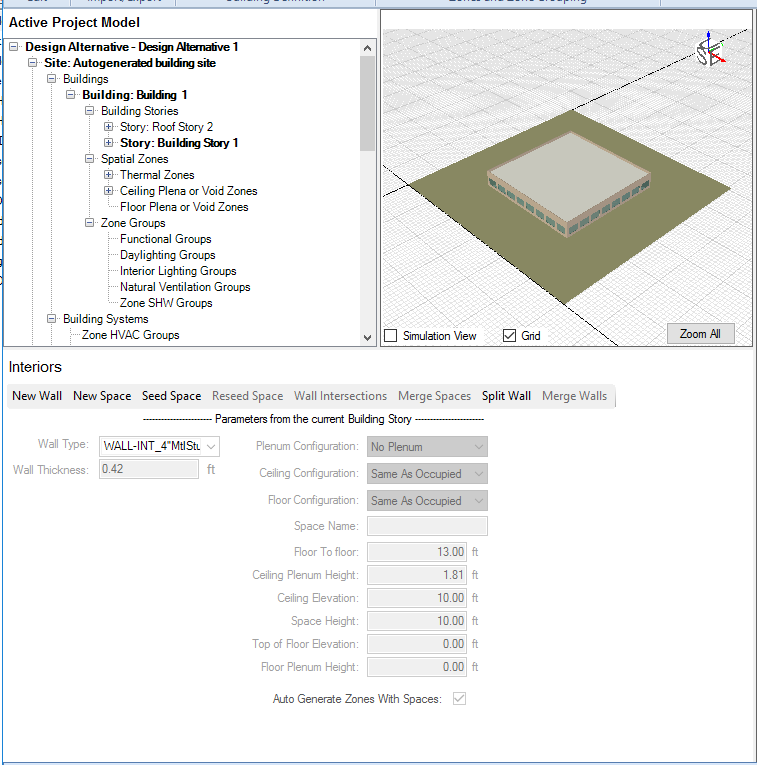
Above is the default view of the Interiors workspace.
Note: This workspace area does not allow refinements to Thermal Zones, it is only for Spaces and Walls.
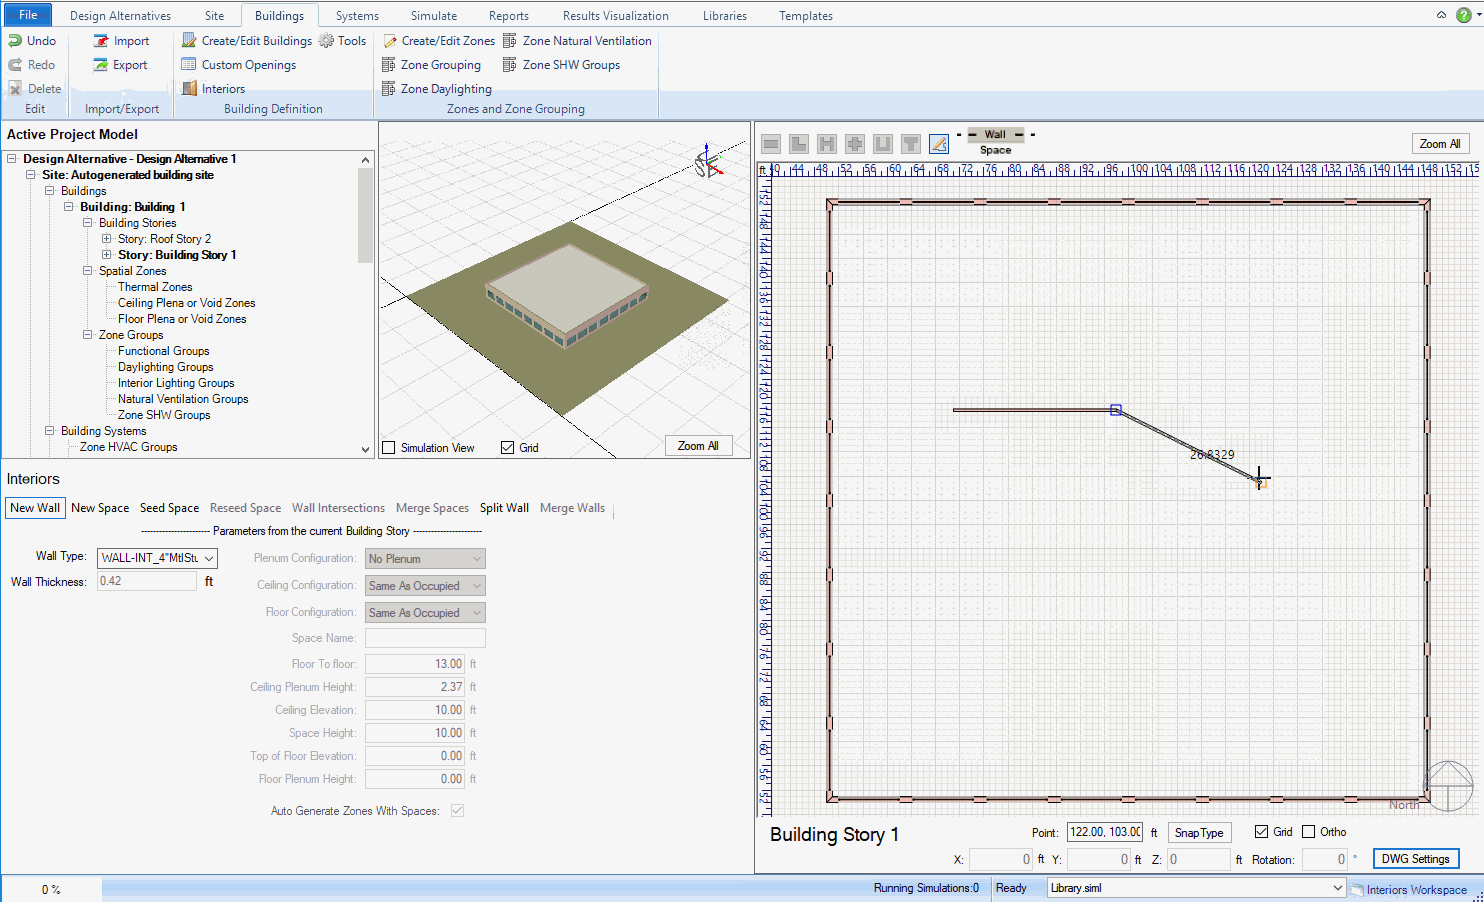
Clicking New Wall will initiate the drawing mode in the 2D plan view. This is similar in use to drawing a free-form building profile, although a closed loop of walls is not required here.
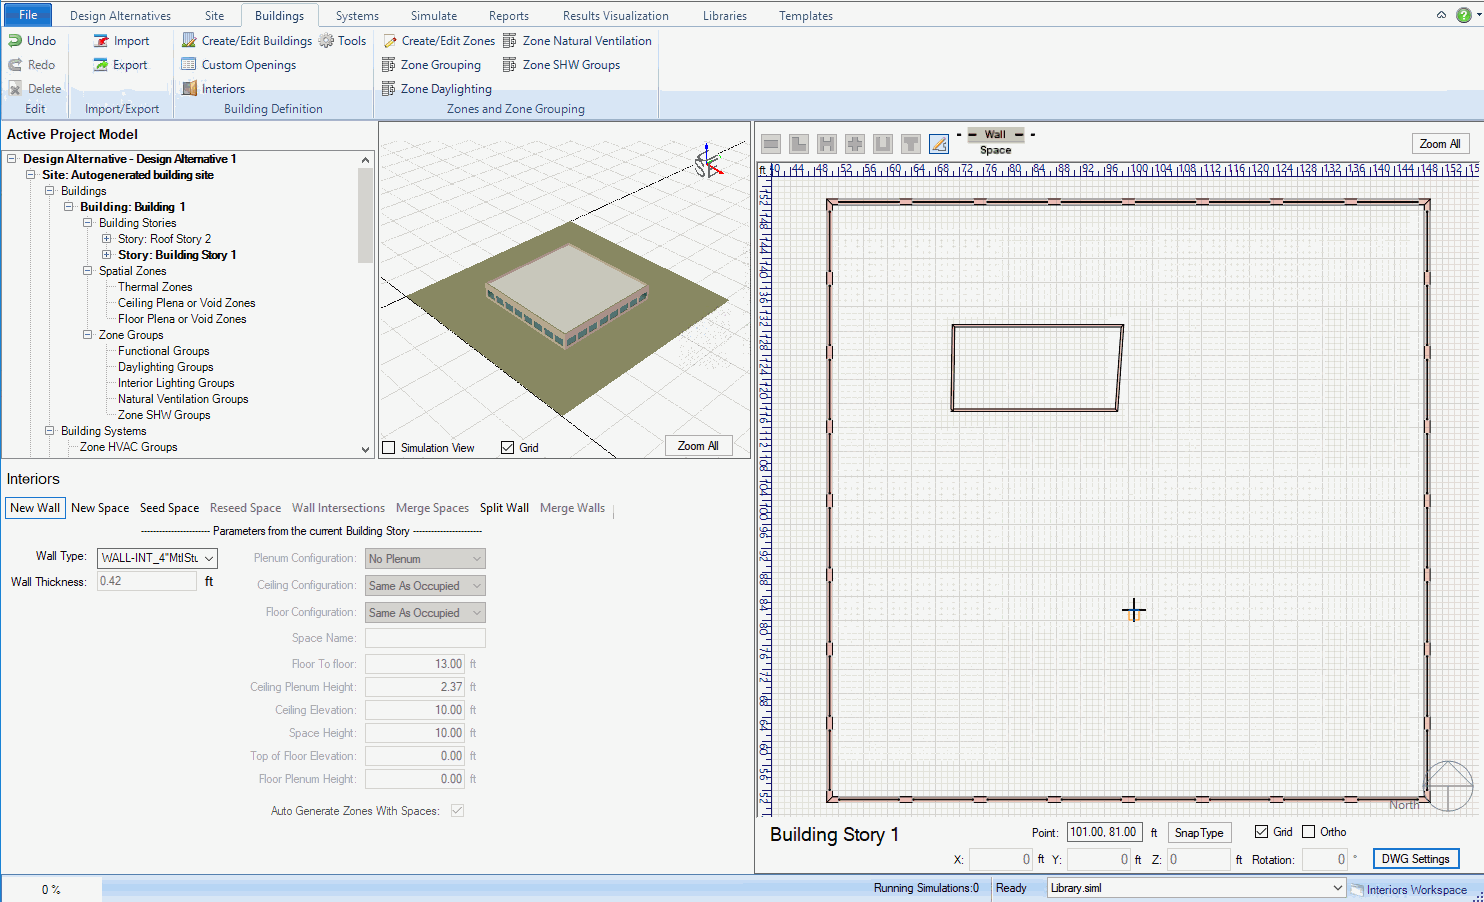
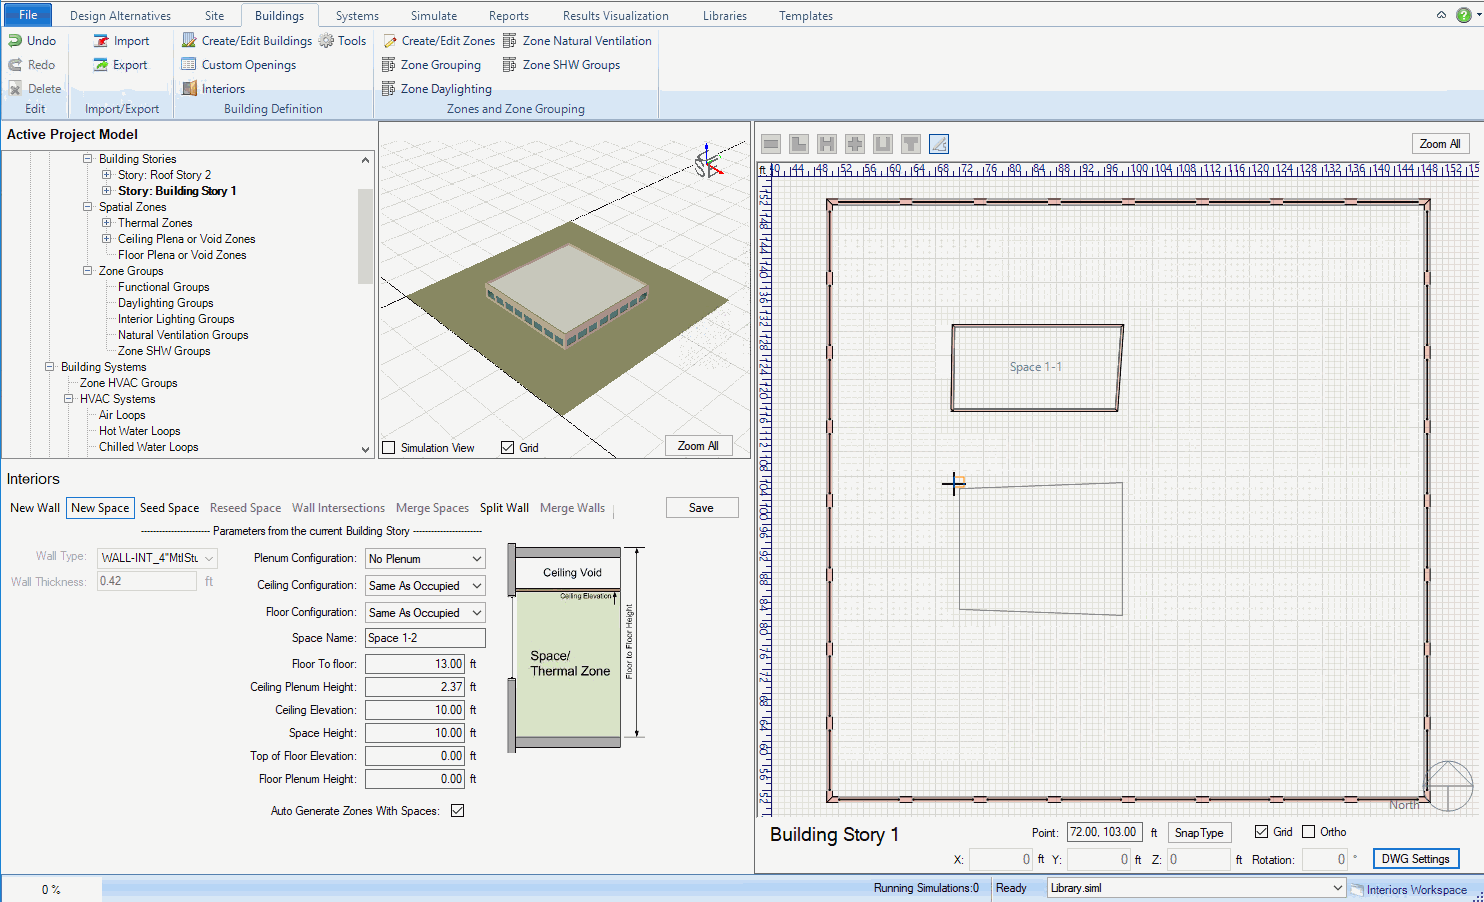
Clicking New Space will also initiate drawing mode in the 2D view. In this case, a "closed loop" is necessary and will produce a defined space upon closing the boundary loop and clicking "Save".
Clicking Seed Space will allow you to click in the 2D view to fill an area enclosed by walls with a new space.
Clicking Reseed Space will "update" a selected space to reflect any changes made to its enclosing walls.
The Wall Intersection tool will create a cleaner intersection by trimming one of two selected, intersecting walls.
Clicking Merge Spaces will merge two adjacent spaces into a single space. This will work if they are touching or if there is a wall inbetween them (the wall will be deleted).
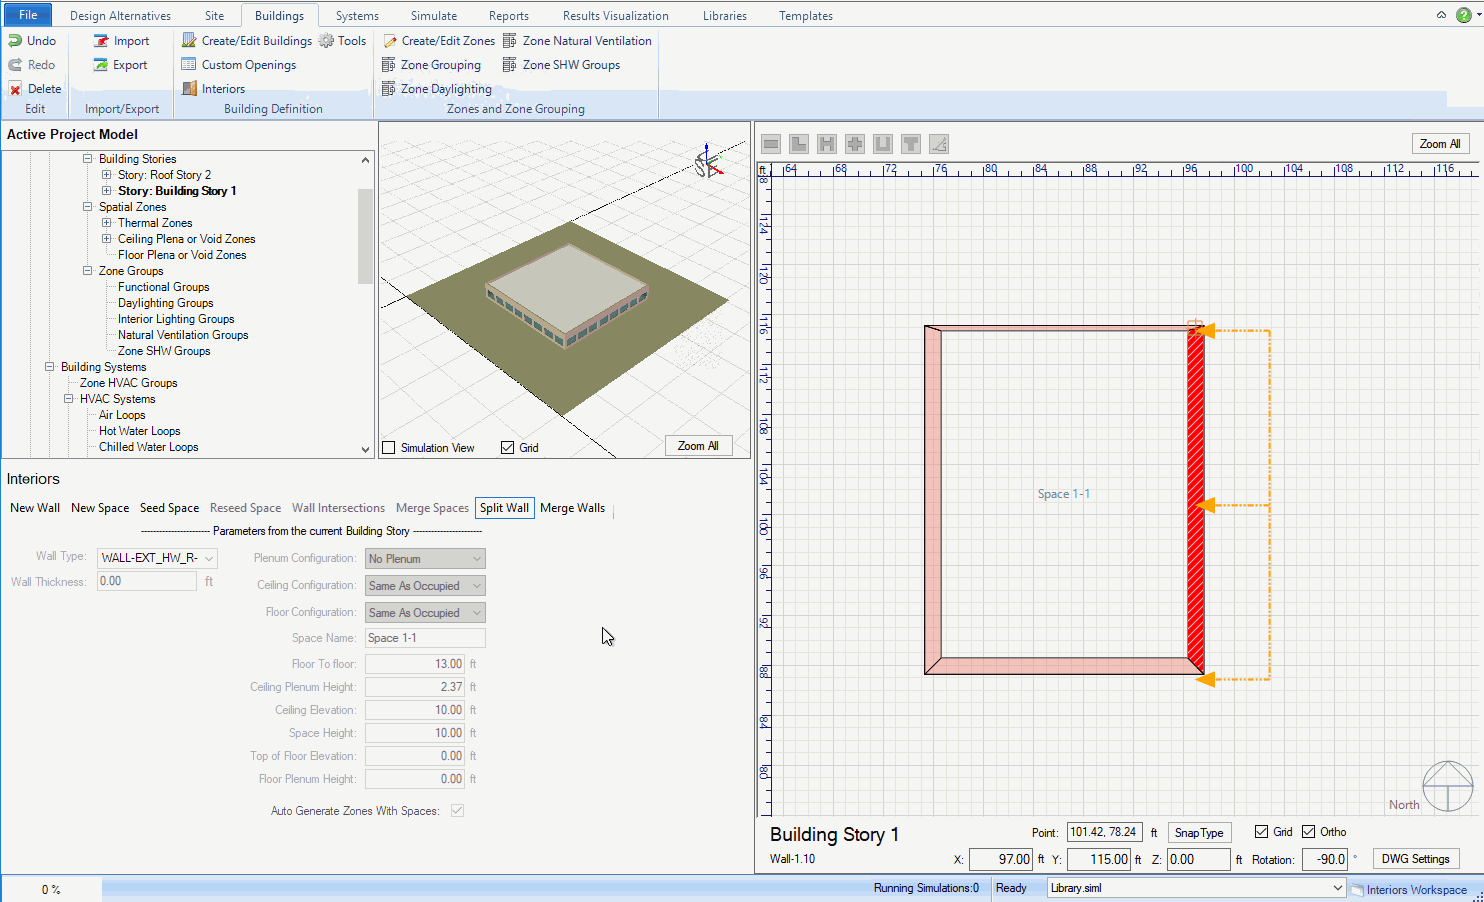
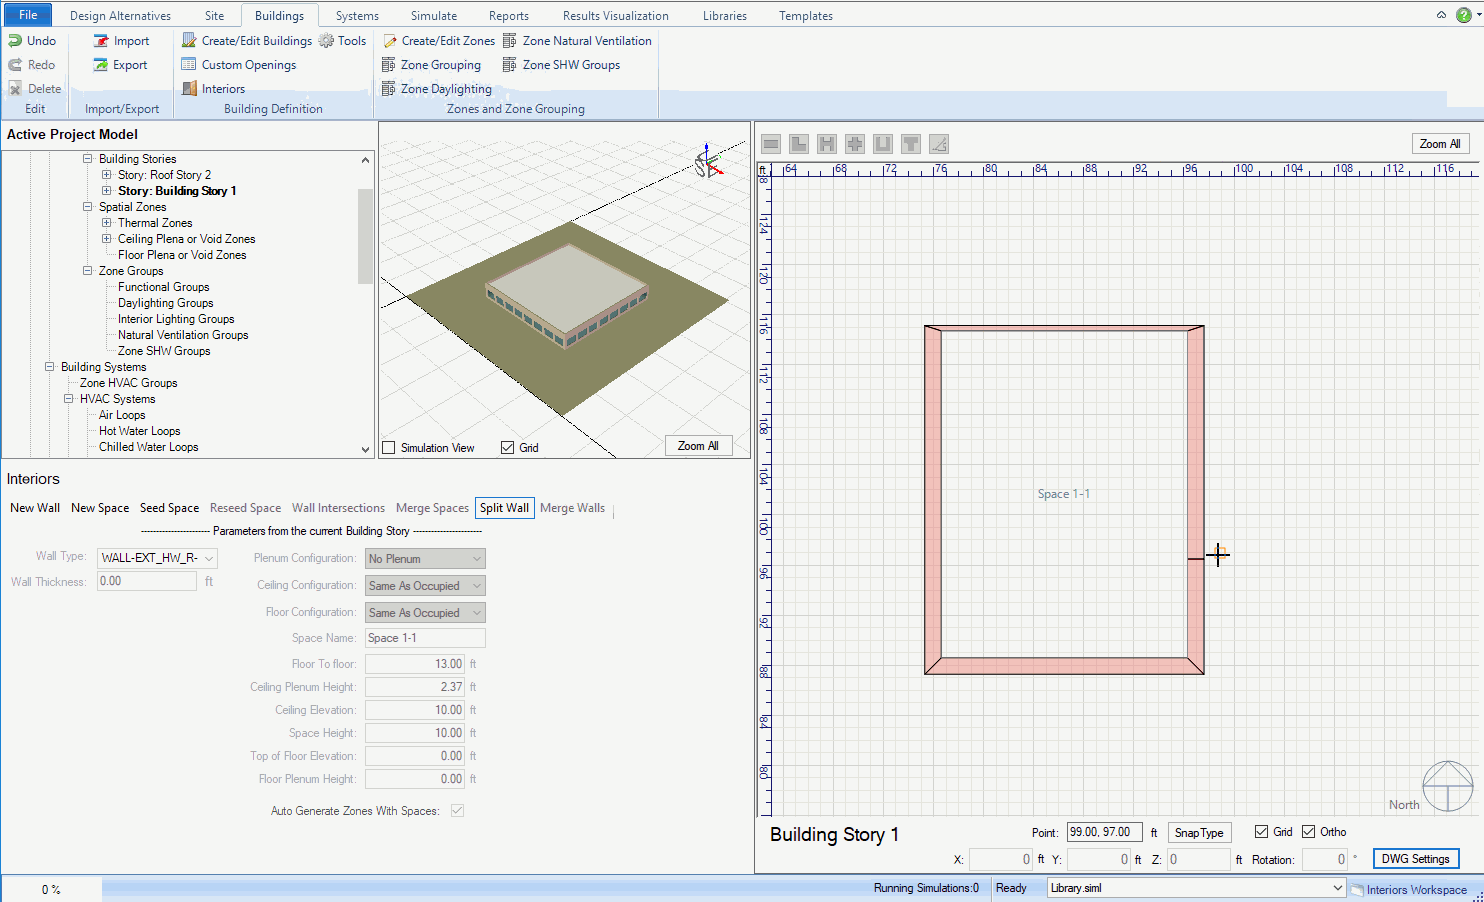
The Split Wall tool will split a selected wall at a selected point.
Clicking Merge Walls after selecting two adjacent, parallel walls will merge them into a single wall.
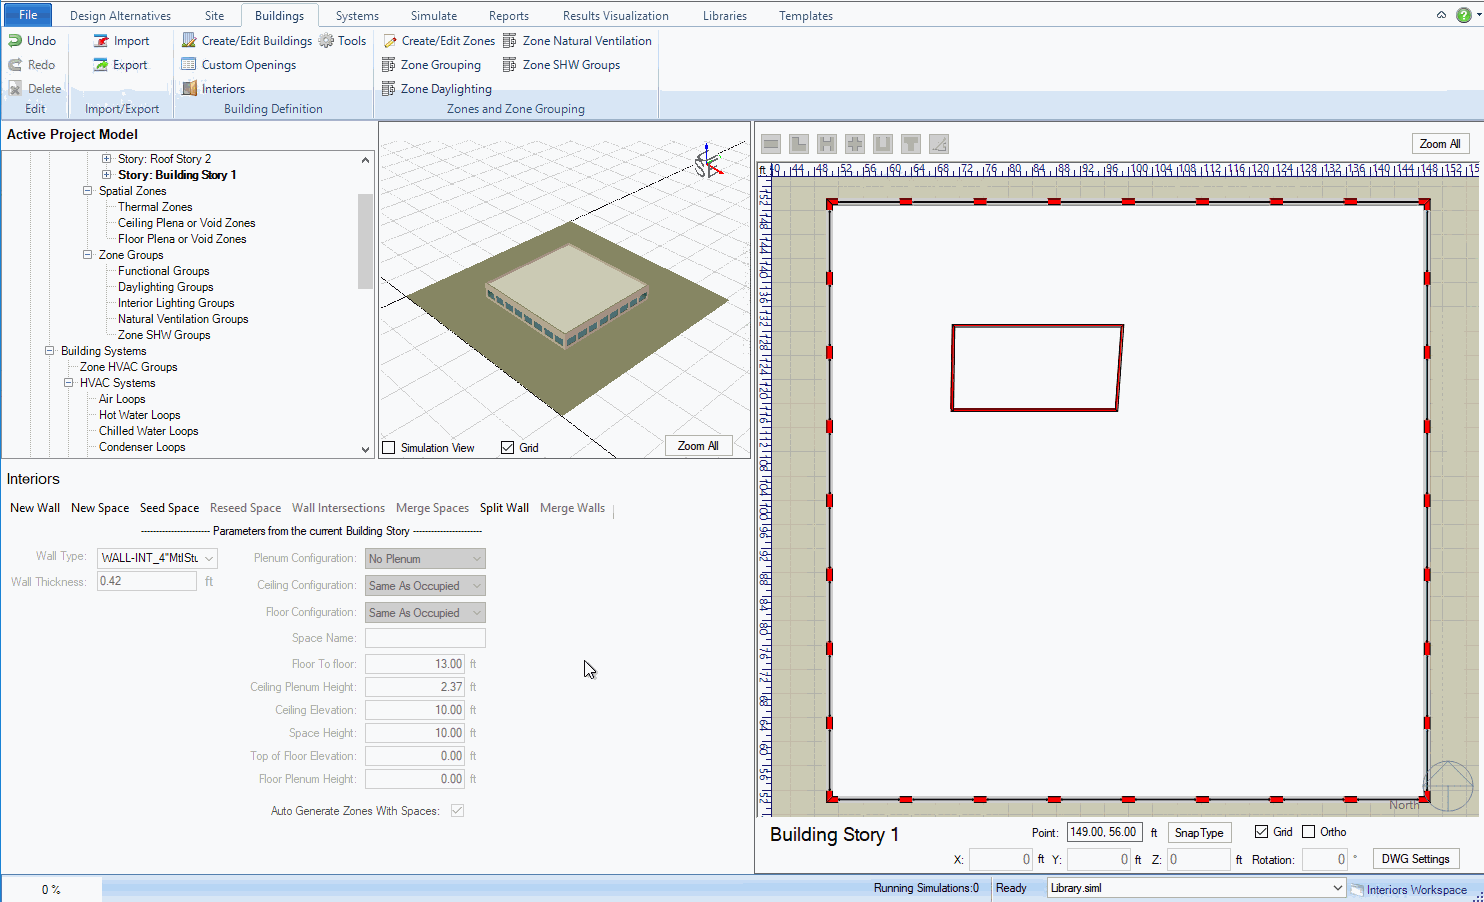
The Save button will appear when the New Space tool is active and will become enabled once the drawn boundary for the new space has been closed. The Space will not be incorporated into the model until Save is clicked.
This dropdown will let you select the construction (Material Layer Set) for any new walls being drawn.
A read-only display showing the thickness of the currently selected Wall Type.
This drop down lets you choose the plenum configuration of of any New Spaces (above ceiling, below floor, both, or none).
This dropdown lets you choose the layout of spaces in any void or plenum above the ceiling of a New Space.
This dropdown lets you choose the layout of spaces in any void or plenum below the floor of a New Space.
This text box lets you change the name of any New Spaces. If no changes are made, it will continue naming spaces with the default scheme.
This read-only display shows the floor-to-floor height set in the Building Stories tab.
This read-only text box displays a calculated value that is derived from taking the Floor to Floor value and subtracting the depth of the ceiling Meterial Layer Set and the Ceiling Elevation.
This text box allows you to set the ceiling height of any New Space.
This read-only text box displays the height between the Top of Floor Elevation and the Ceiling Elevation.
This text box allows you the raise the top of finish floor above the rough floor height for any New Spaces. This must be greater than 0 if you wish to include a floor plena or void.
This read-only text box displays a calculated value that is derived from taking the Top of Floor Elevation value and subtracting the depth of the floor Material Layer Set.
When this option is enabled, a thermal zone will be created with any New Space.
To follow along with this example, start with a building that has Custom Zones, and go to the Interiors workspace.
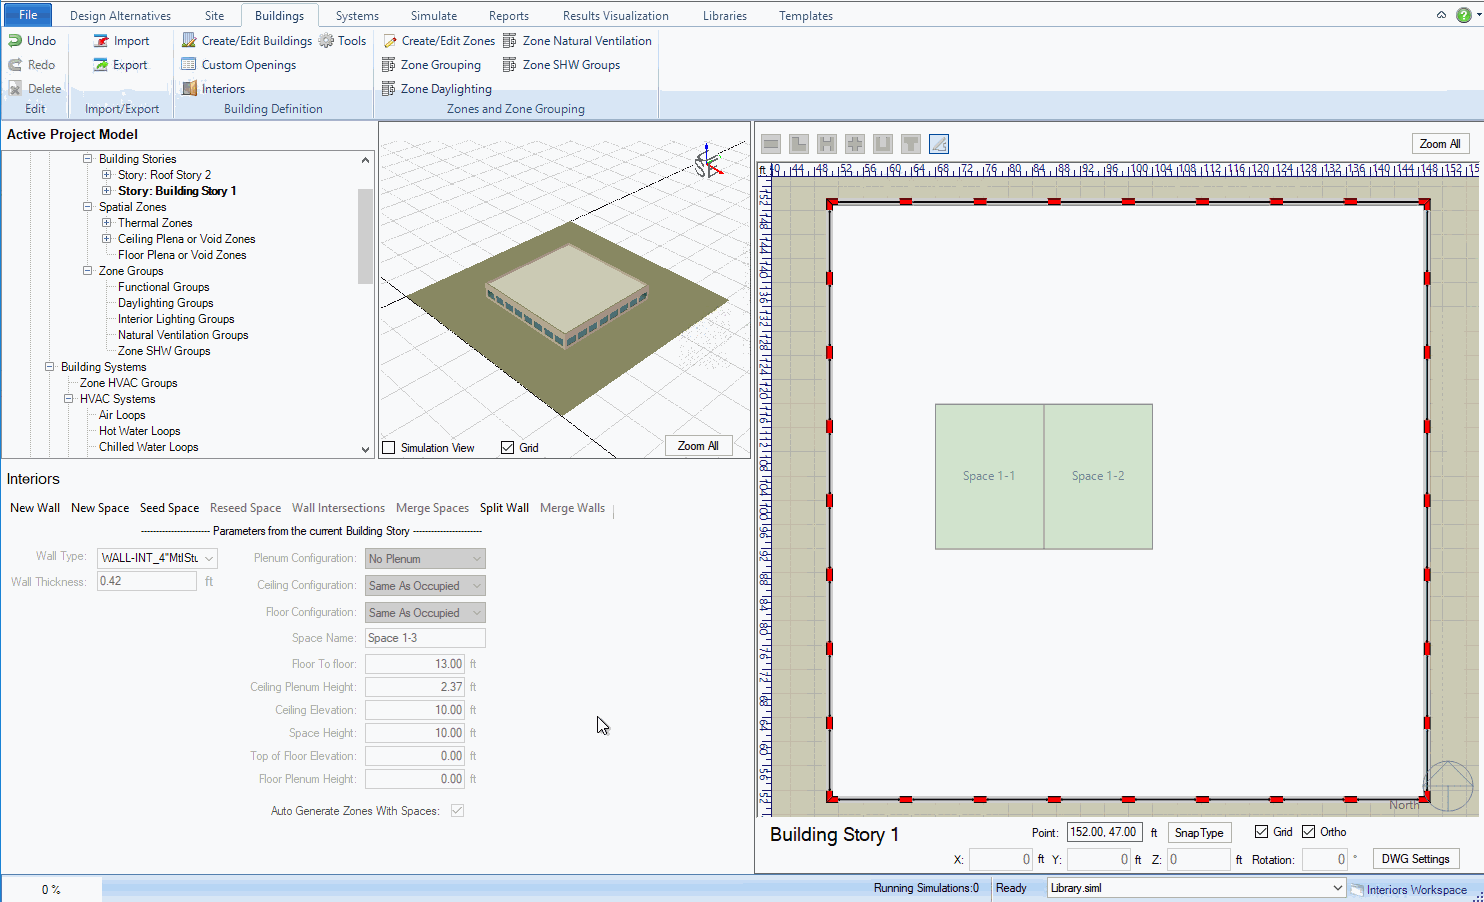
Select New Wall again to draw more walls, this time draw three walls -- when you close the loop, it won't start another wall.
Alternatively, you can draw a new space without walls by drawing the boundary much like how you drew the walls
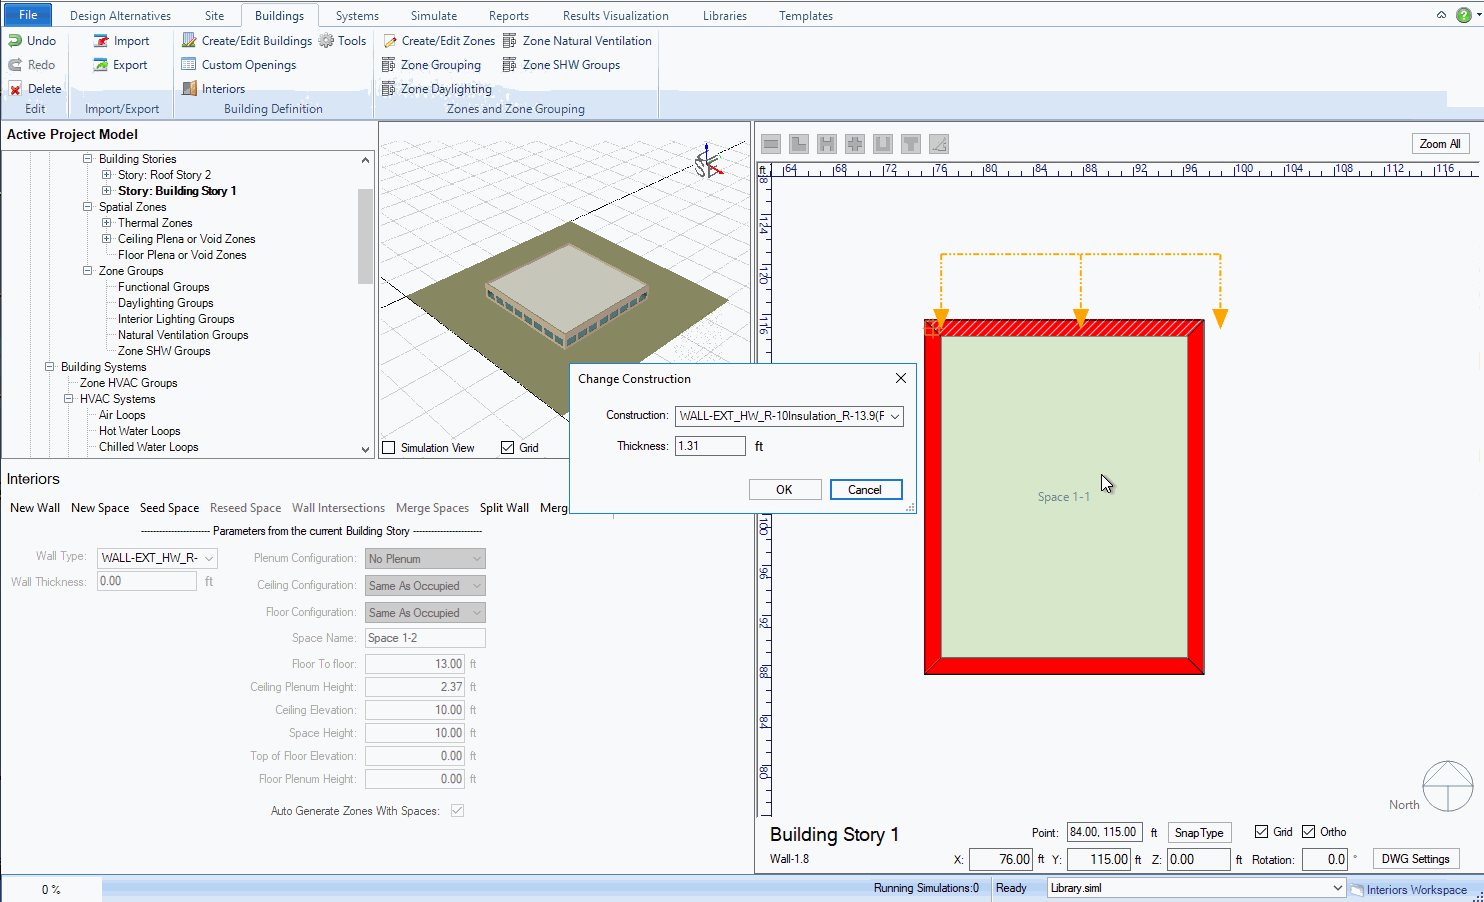
You can change the construction (Material Layer Set) of a wall through the right-click menu.
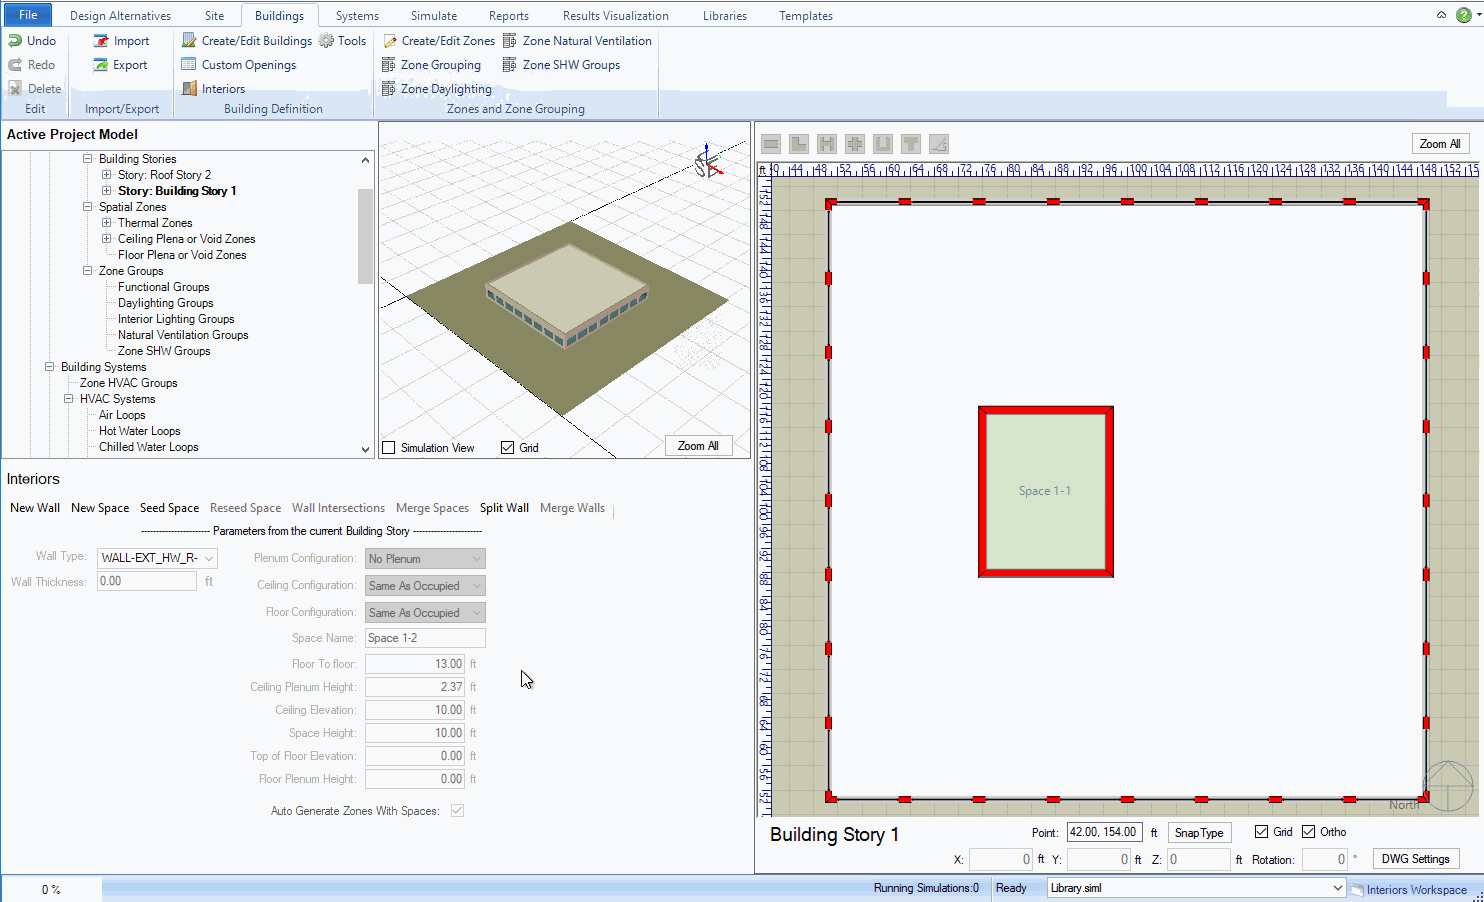
Now that you have made those changes, the intersections of the walls don't match.
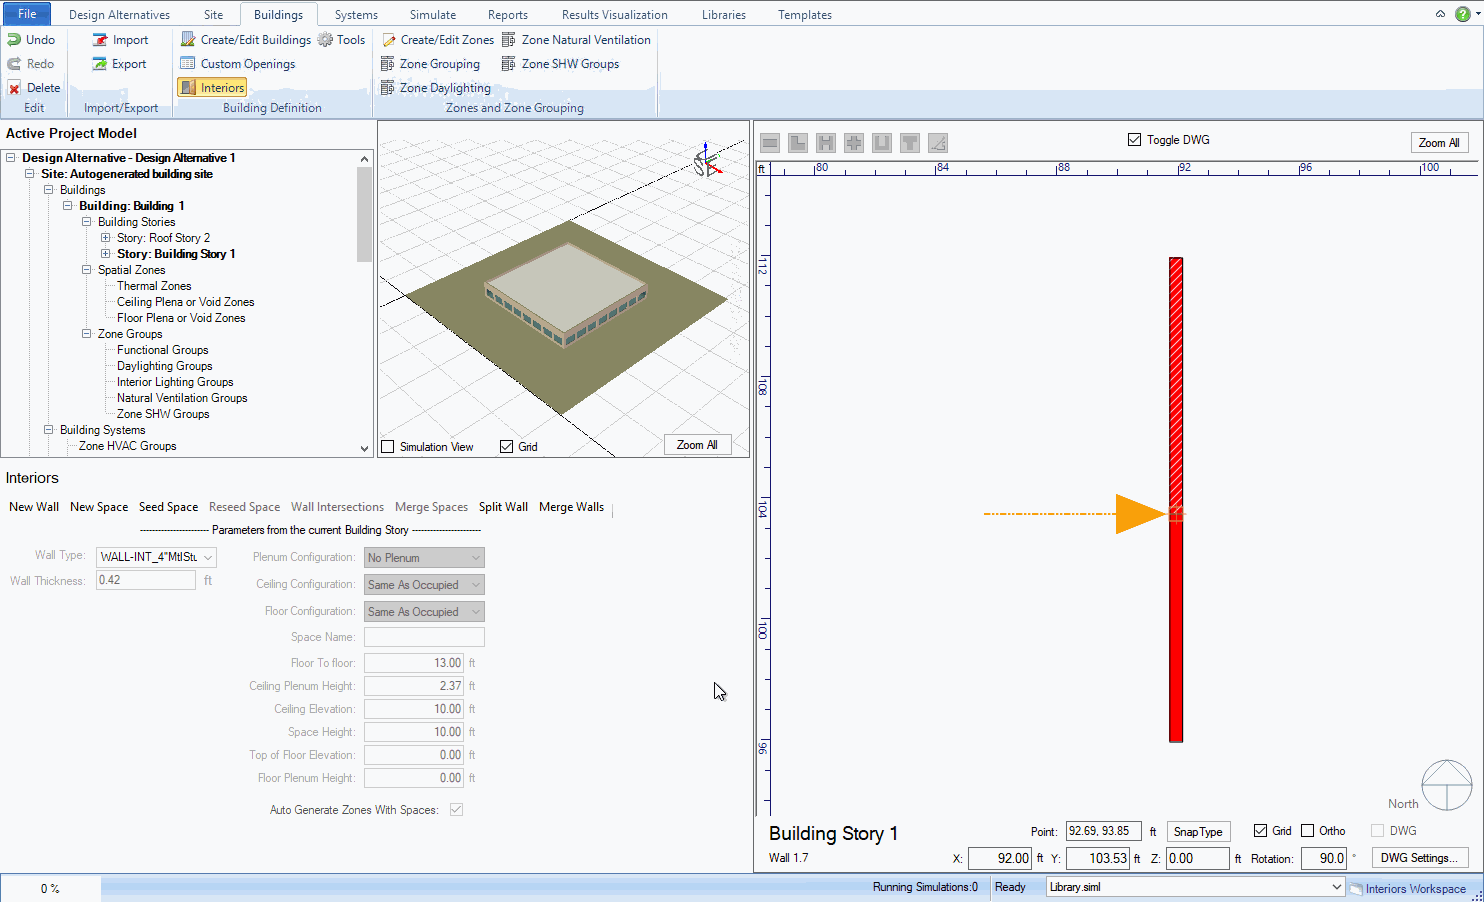
The last thing that doesn't quite line up is the space left by the wall when it was switched to a thinner construction.
The last two tools in the toolbar are for splitting and merging walls.
Walls that are parallel and adjacent (such as the walls produced by splitting one wall) can be merged into one.
______________________________________________________________________________________
© Copyright 2013 Simergy, Sustainable IQ, Inc.