Example - Creating a Custom Space Layout for a DWG/DXF Import Draw-over
Workspace: Buildings-Building/Floor/Zone
Definition-Create/Edit Bldg Stories
Workspace
Areas: Active
Project Model Tree - 3d
view - 2d view - Create/Edit
Geometry
Related
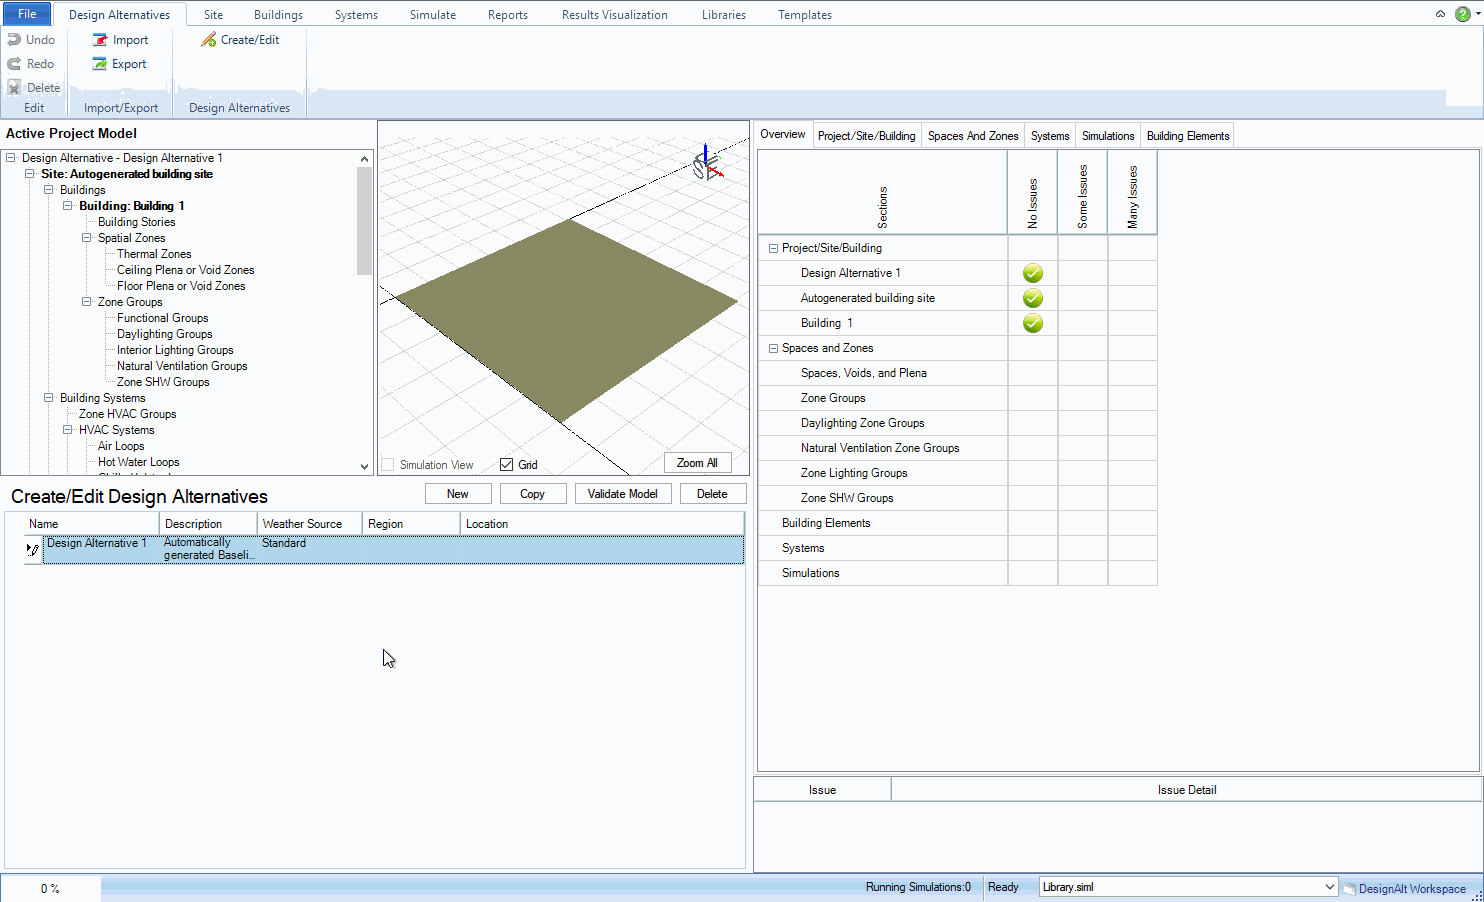
Examples: Create/Edit
Custom Spaces;
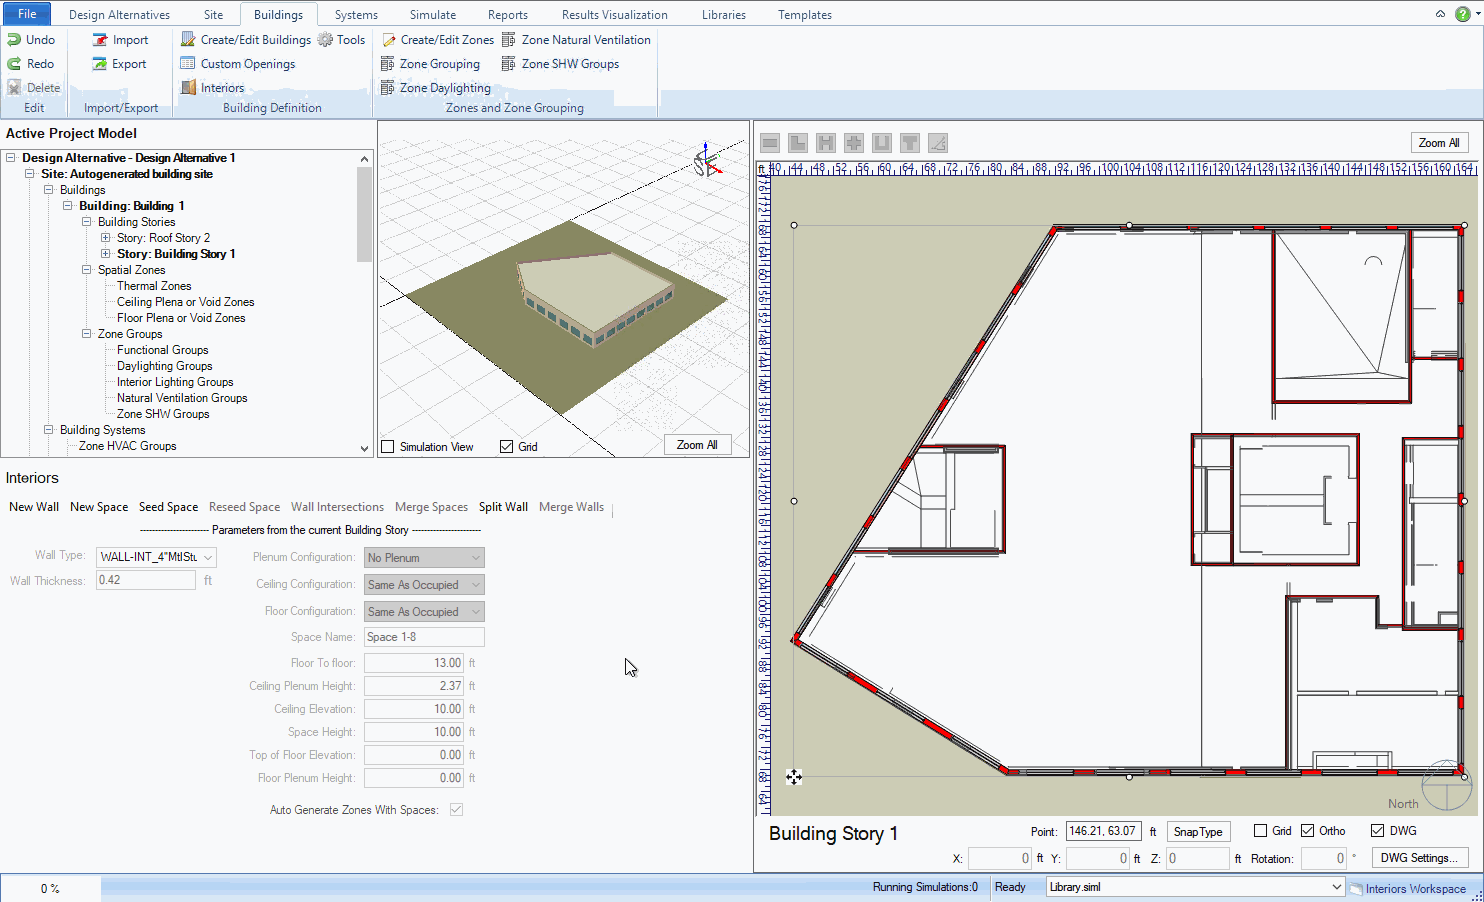
In this example you will see how a DWG
file can be imported, and using freeform
you will create the building form for the story. Next you will create
the space and thermal zone layout using New Wall, Seed Space and New Space
in the Interiors Workspace.
The following steps will walk you through
the process:
Open
a new file in Simergy
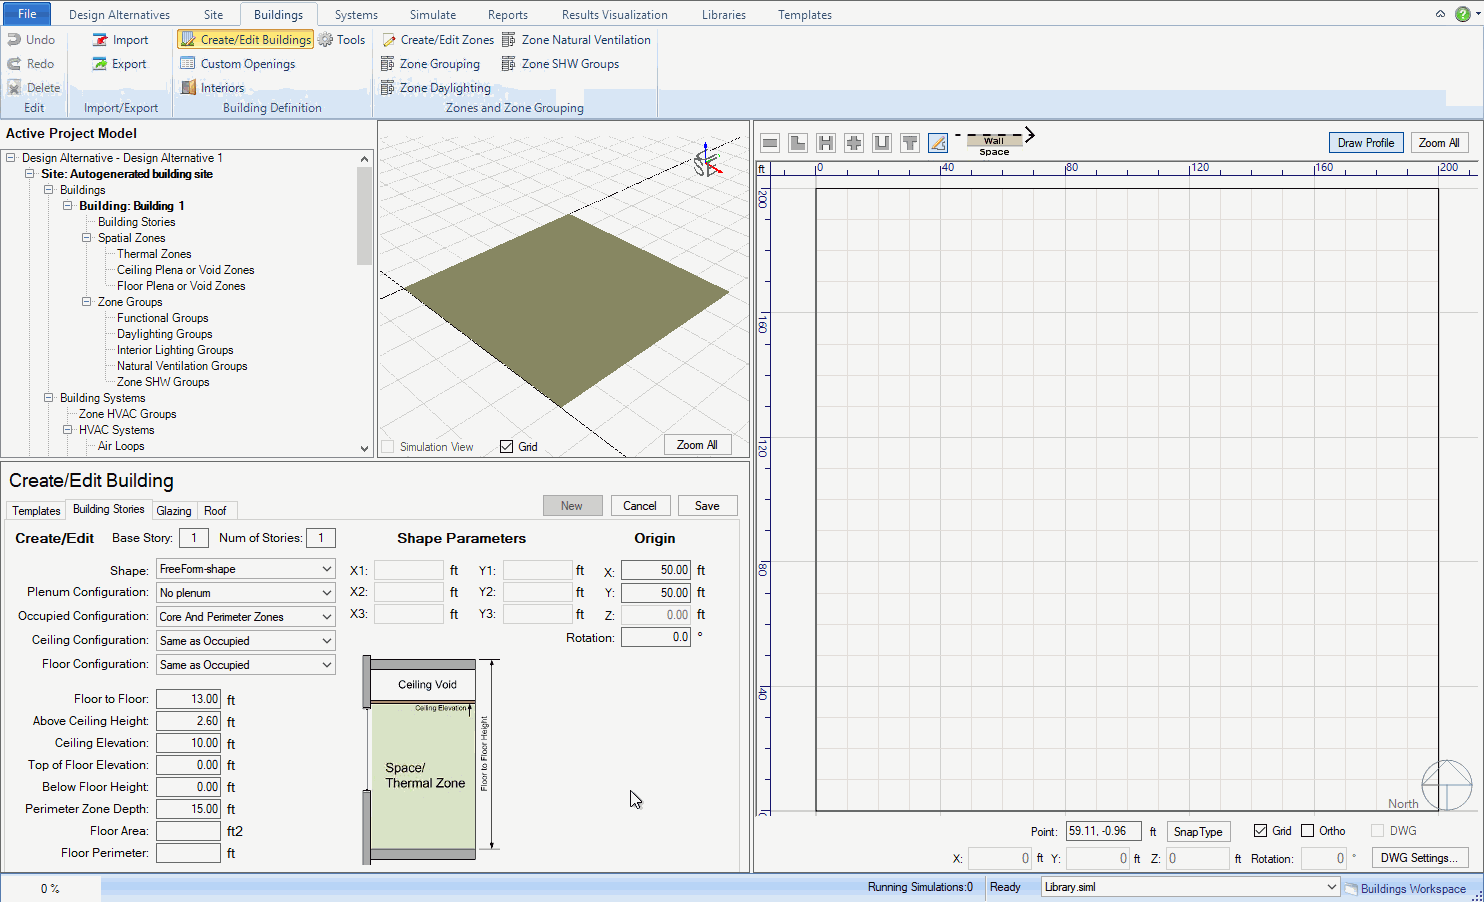
Go
to the Buildings workspace,
select the Building Stories
tab, and click New and select
FreeForm-shape in the Shape dropdown menu.
Click
Draw Profile to temporarily
disable drawing mode if you choose and then click DWG
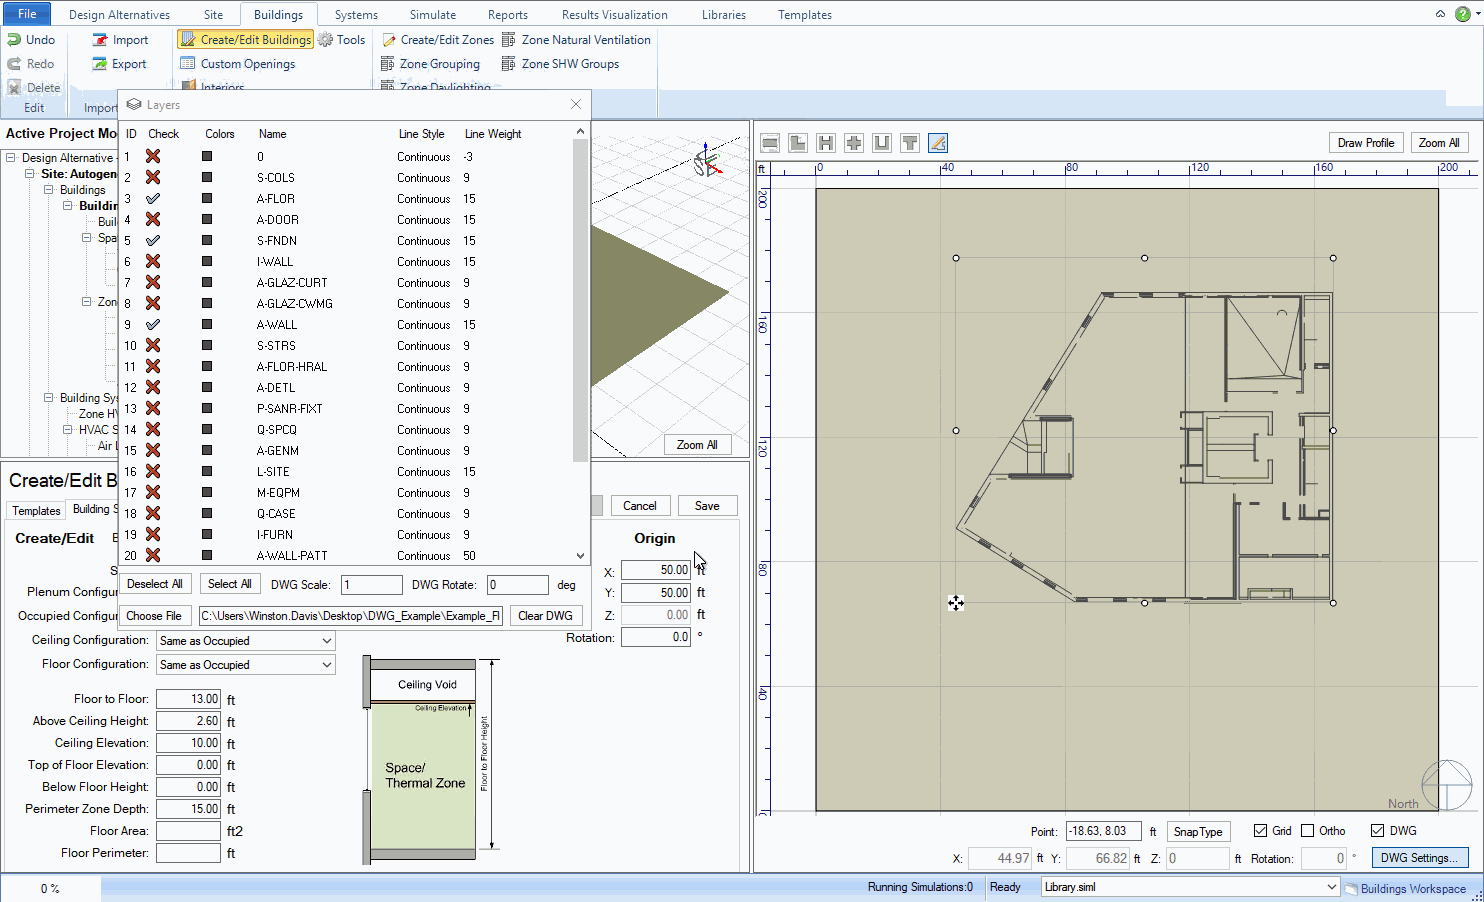
Settings to open a dialog called "Layers".
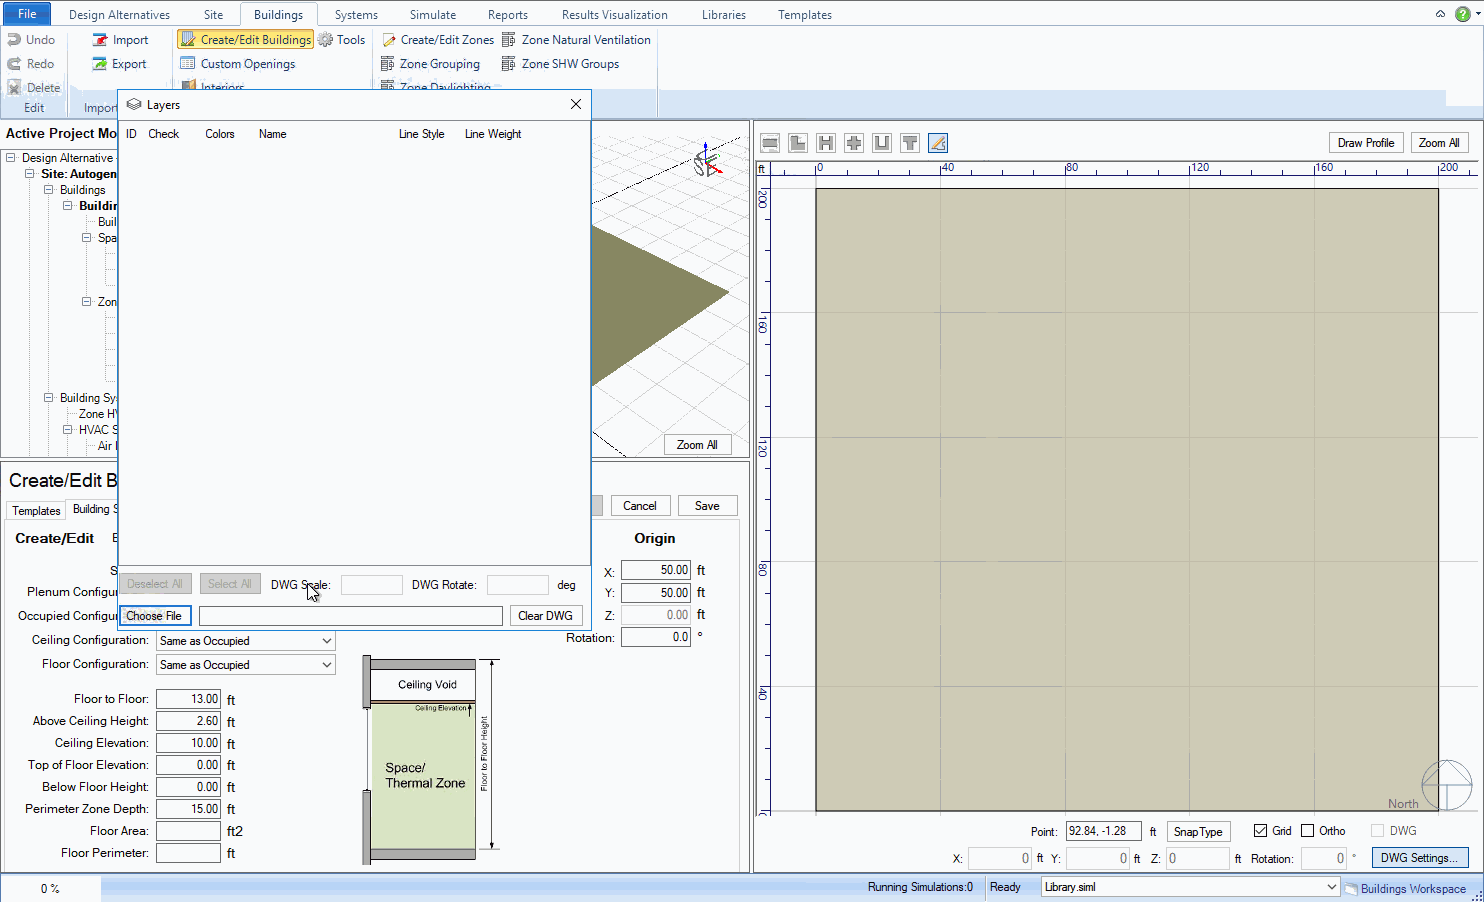
Click
Choose File to open a file
browser and navigate to the DWG or DXF file you wish to trace.
After
loading the drawing file, a pop up may appear with a message identifying
the number of unsupported objects that haven't been imported. Unsupported
objects are typically due to being a part of blocks or groups within
the DWG file. If those objects are "exploded" within
the DWG tool, then they will likely be classified as supported objects
on Simergy Import.
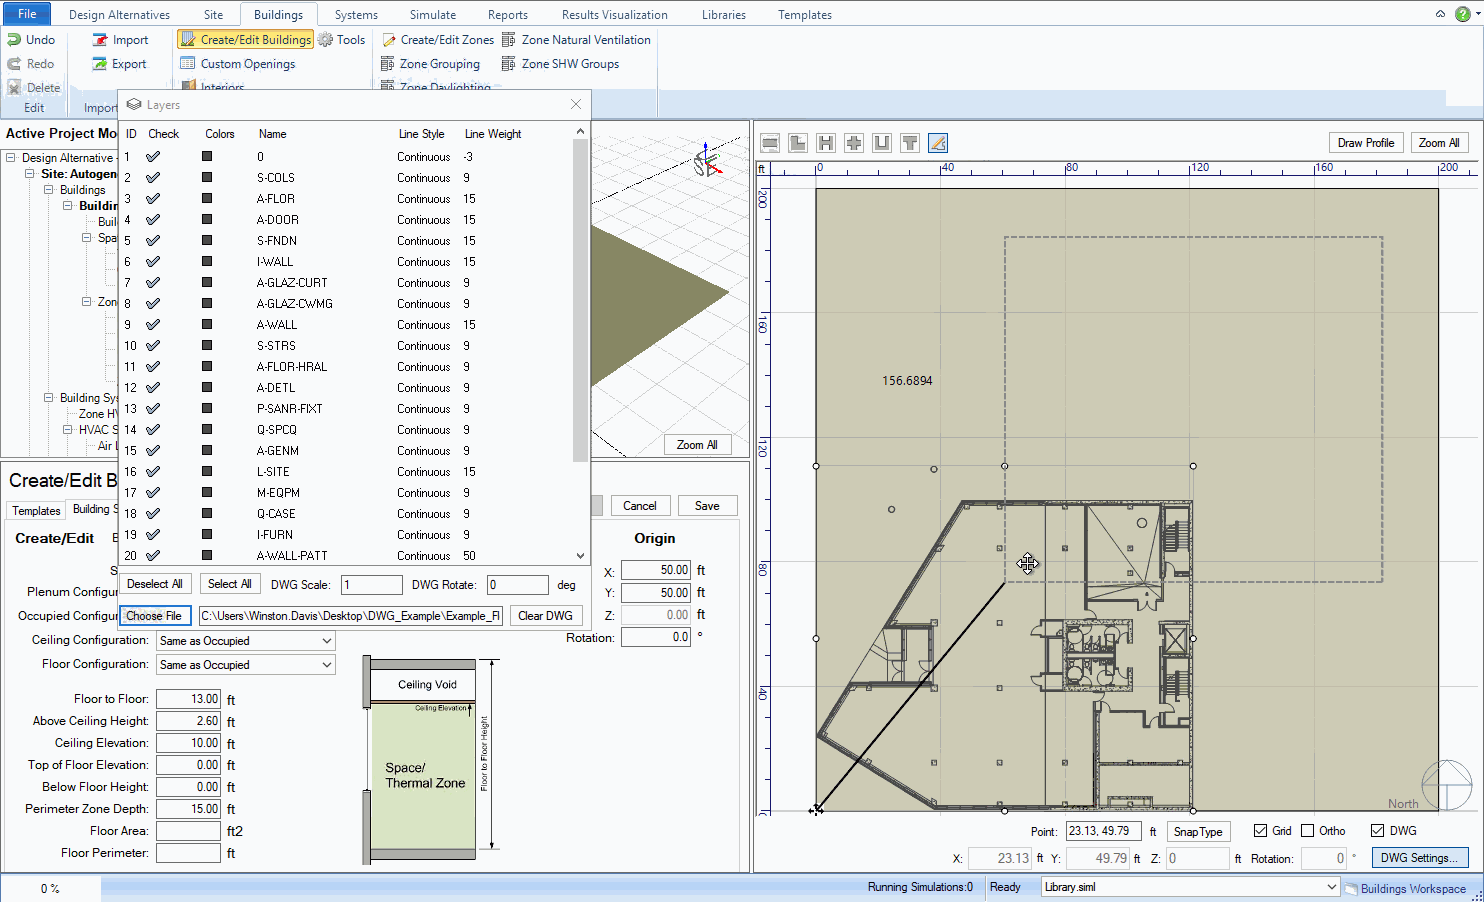
Click
on the site in the 2D plan view to place the drawing file. You
can now choose which drawing layers to view and trace by enabling
or disabling individual layers in the Layers
dialog.
Close
the Layers dialog if you
choose and prepare to trace the drawing by re-enabling drawing mode
by clicking Draw Profile and
selecting your preferred snap
settings.
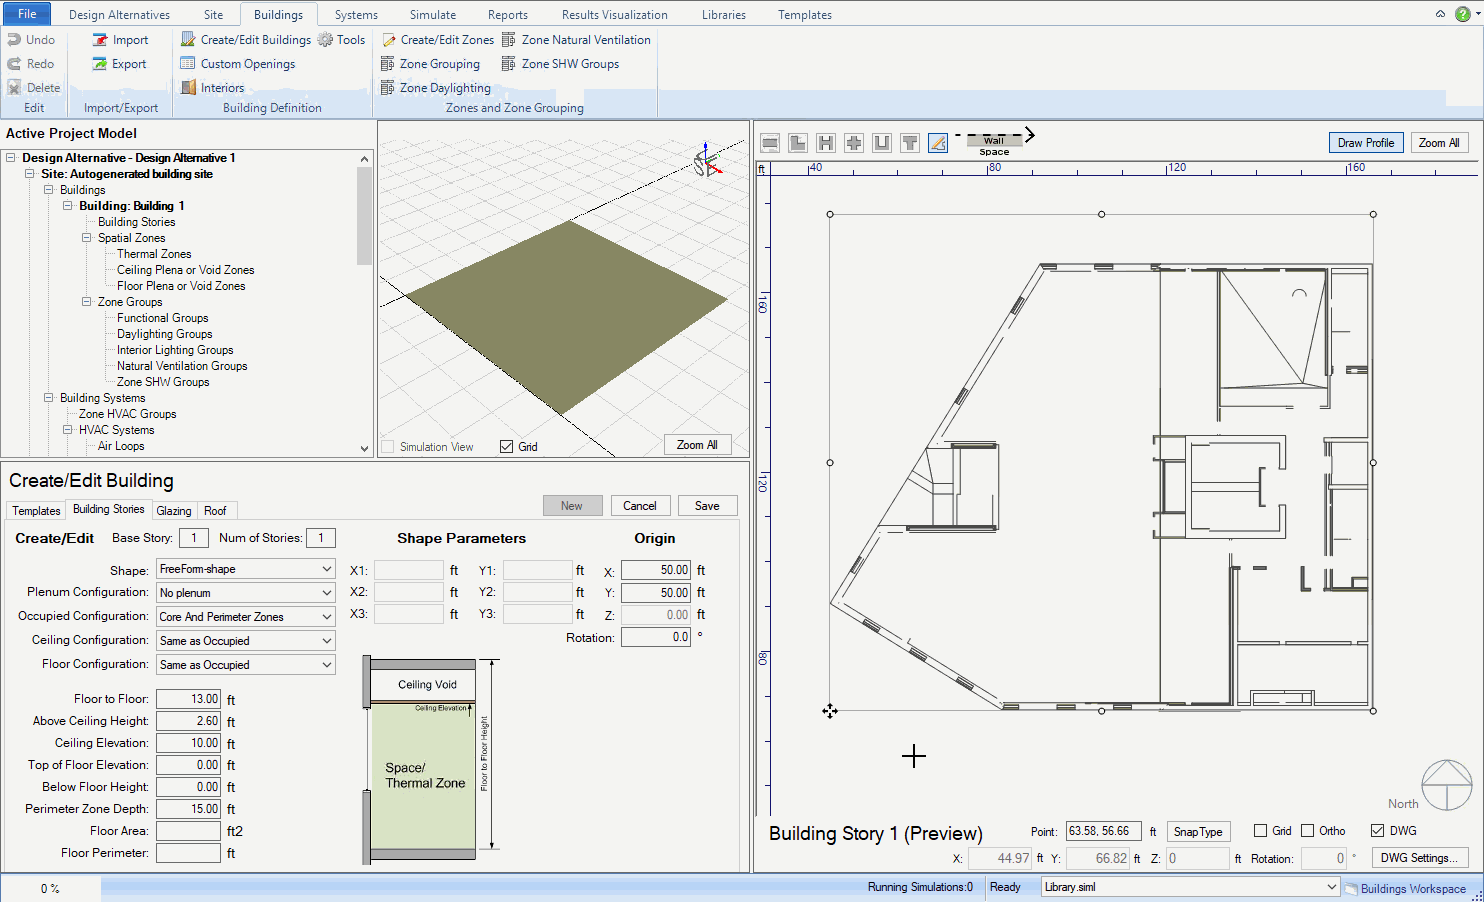
You
can now trace the drawing. Every line you draw will become a
single, exterior wall. When you close the polygon, the building
story will appear in the 3D viewport. Select Custom
Zones in the Occupied Configuration
dropdown menu and click Save.
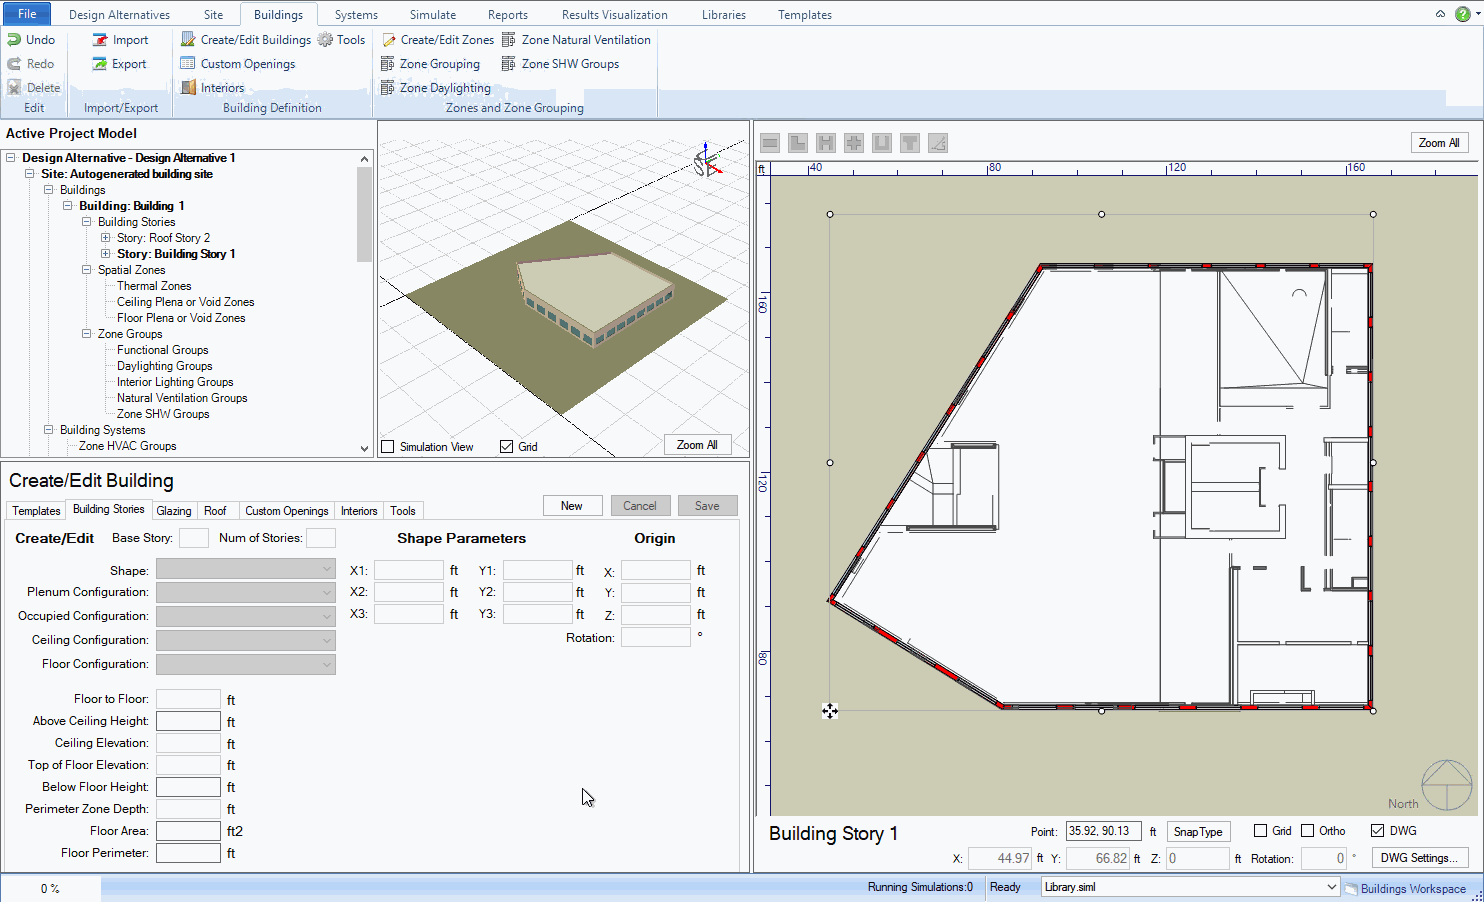
With
the profile of the building story complete, it is time now to go to
the Interiors workspace.
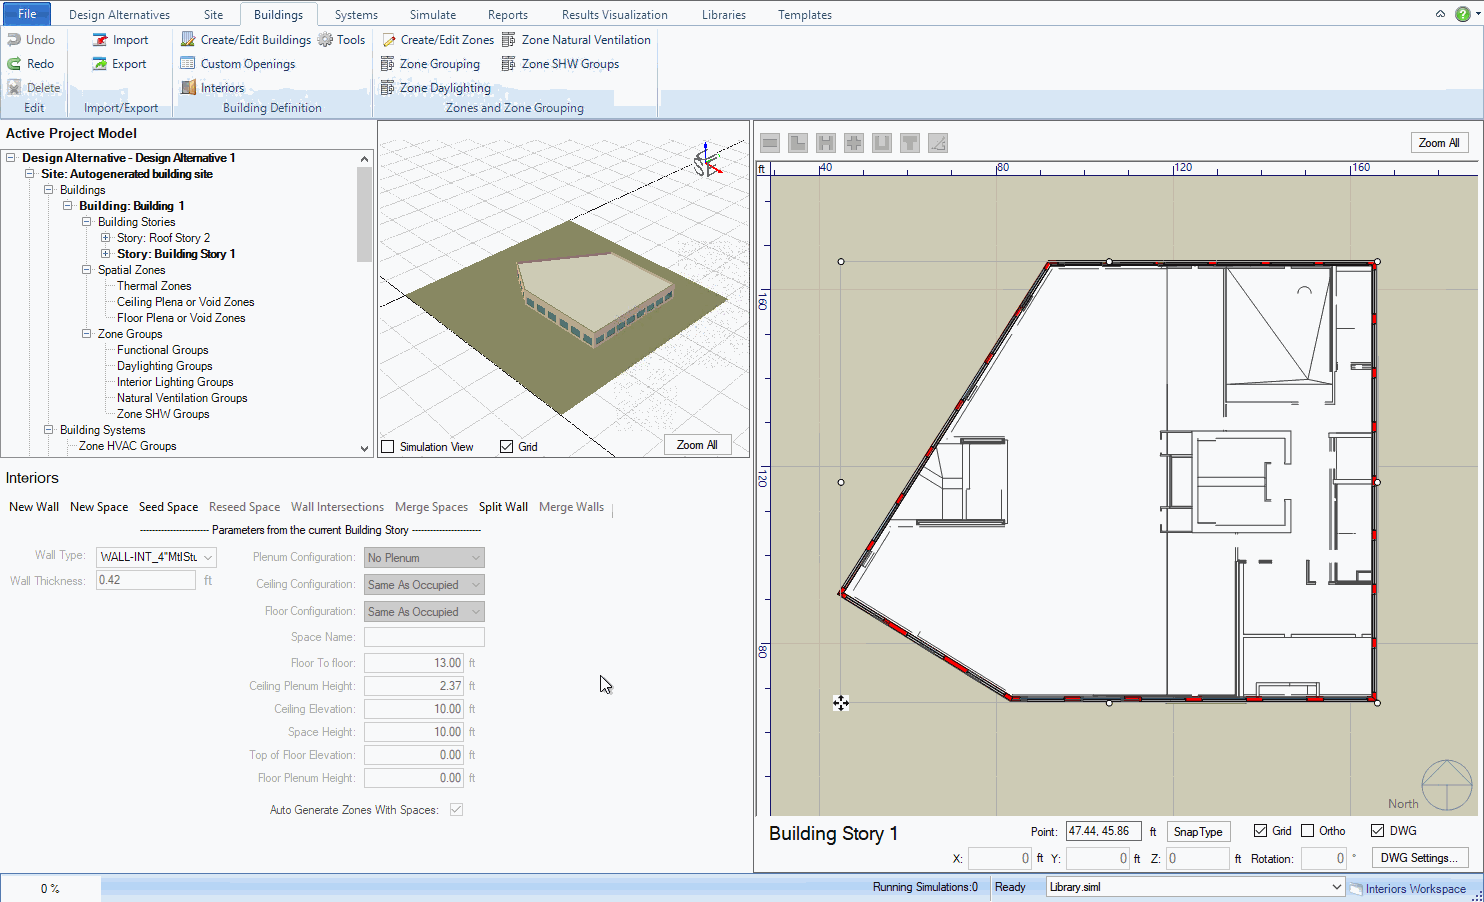
Click New Wall and select your preferred
snap settings and begin tracing
walls.
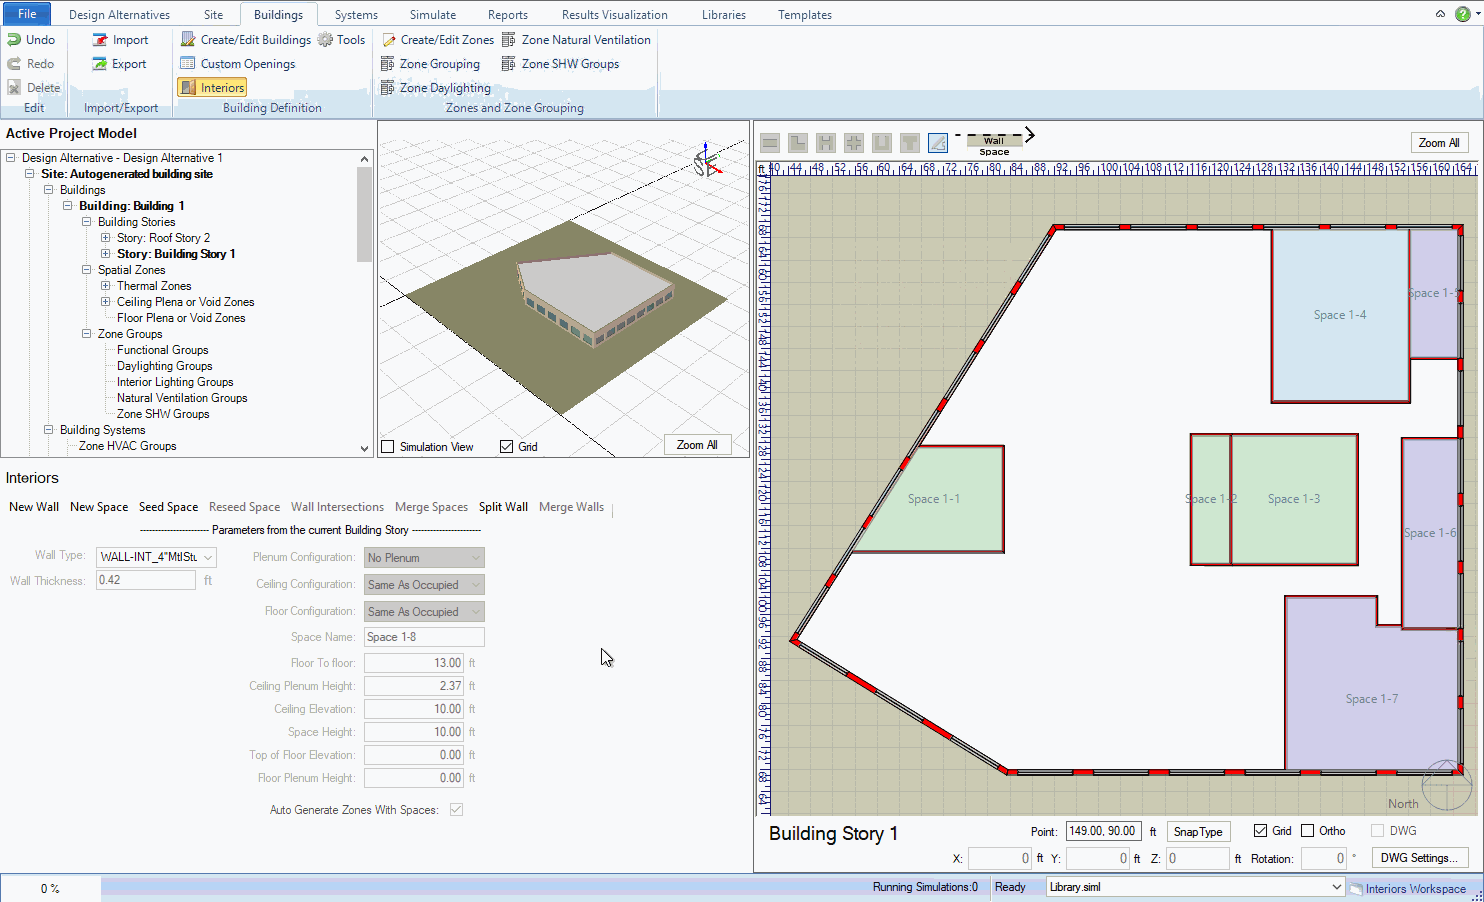
When all the interior walls are traced, you can disable
the DWG view if you so choose and begin seeding spaces in the
areas enclosed by walls by selecting Seed
Space.
When
all that is left is a large area or an area with complex geometry,
it may be easier to break it up into smaller spaces.
To divide an area into spaces without walls, you can draw
spaces directly without seeding them by clicking New
Space and drawing them as you did the profile of the building
story.
Once you have a more singular space left, you can use Seed
Space again - this will fill in an area up to walls and adjacent spaces.
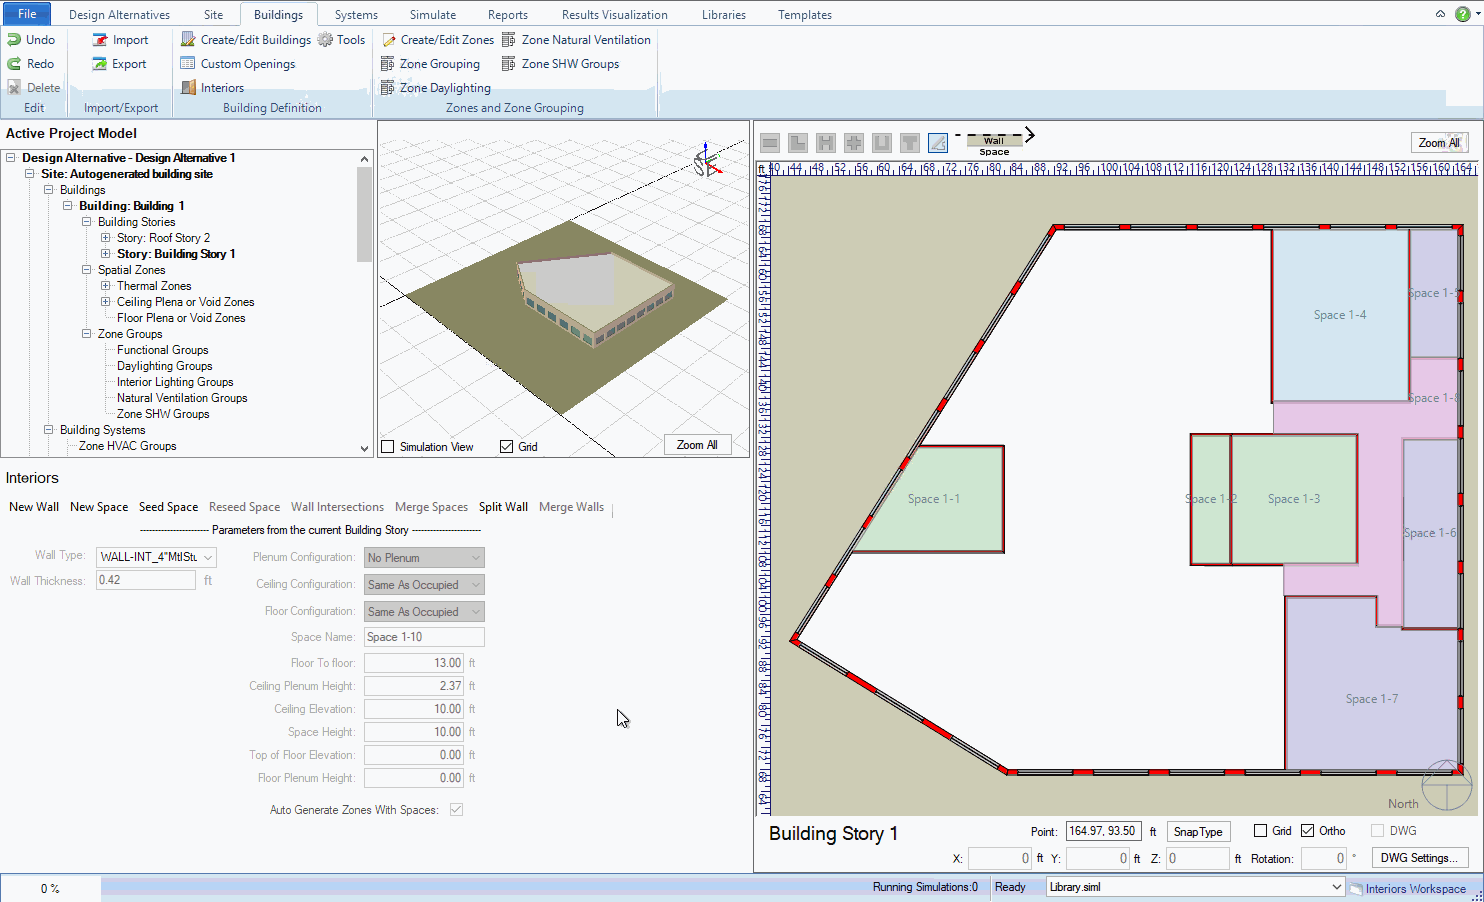
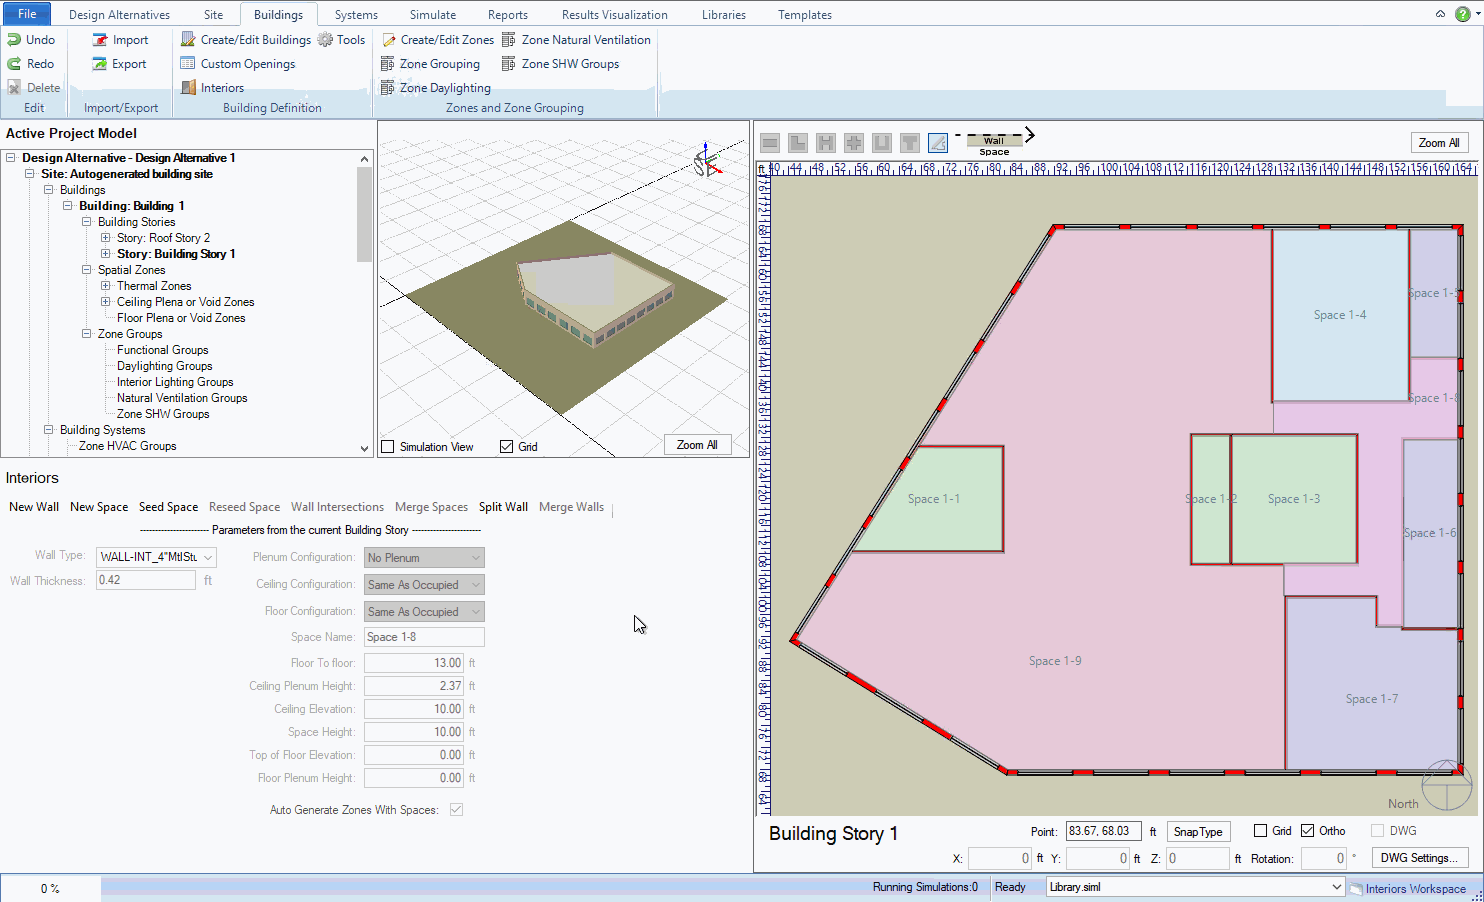
If drawing the complex geometry of a space got a little
messy, you can select it and click Reseed
Space to clean it up once it touches walls or other spaces
on all sides.
Now
the process is complete and it would be wise to select File:Save to
save the work that has been done. It is also beneficial to save
regularly throughout the process as well.
The next examples that are coming soon, will build off this example
to show how the thermal zones can be assigned to different types of groups
(zone, daylight or natural ventilation) and templates associated with
them.
______________________________________________________________________________________
©
Copyright 2013 Simergy, Sustainable IQ, Inc.