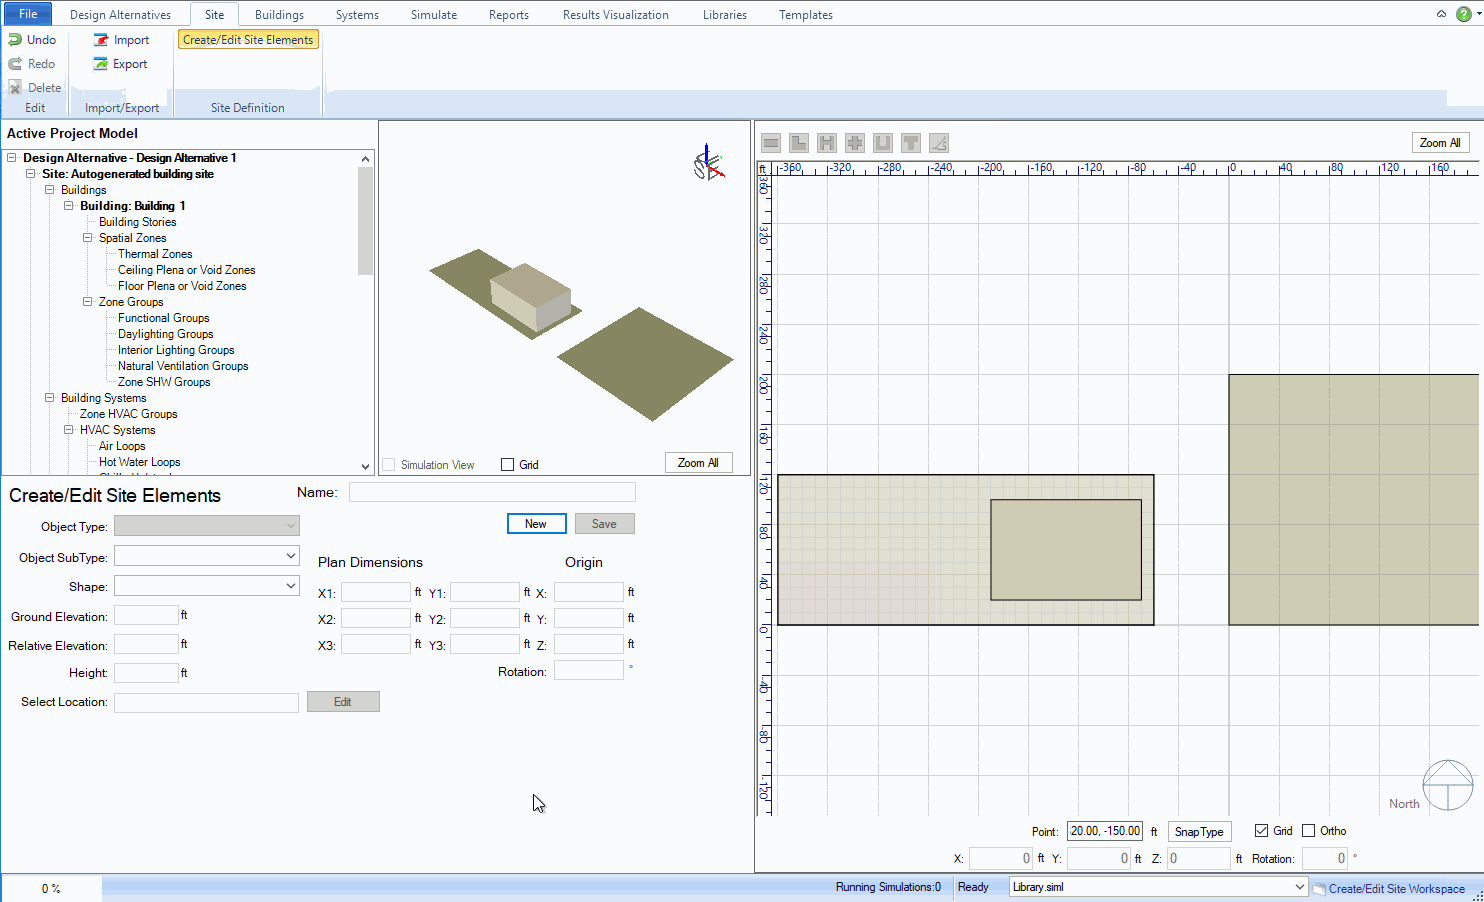
Workspace: Site/Site Definition/Create-Edit Site Elements
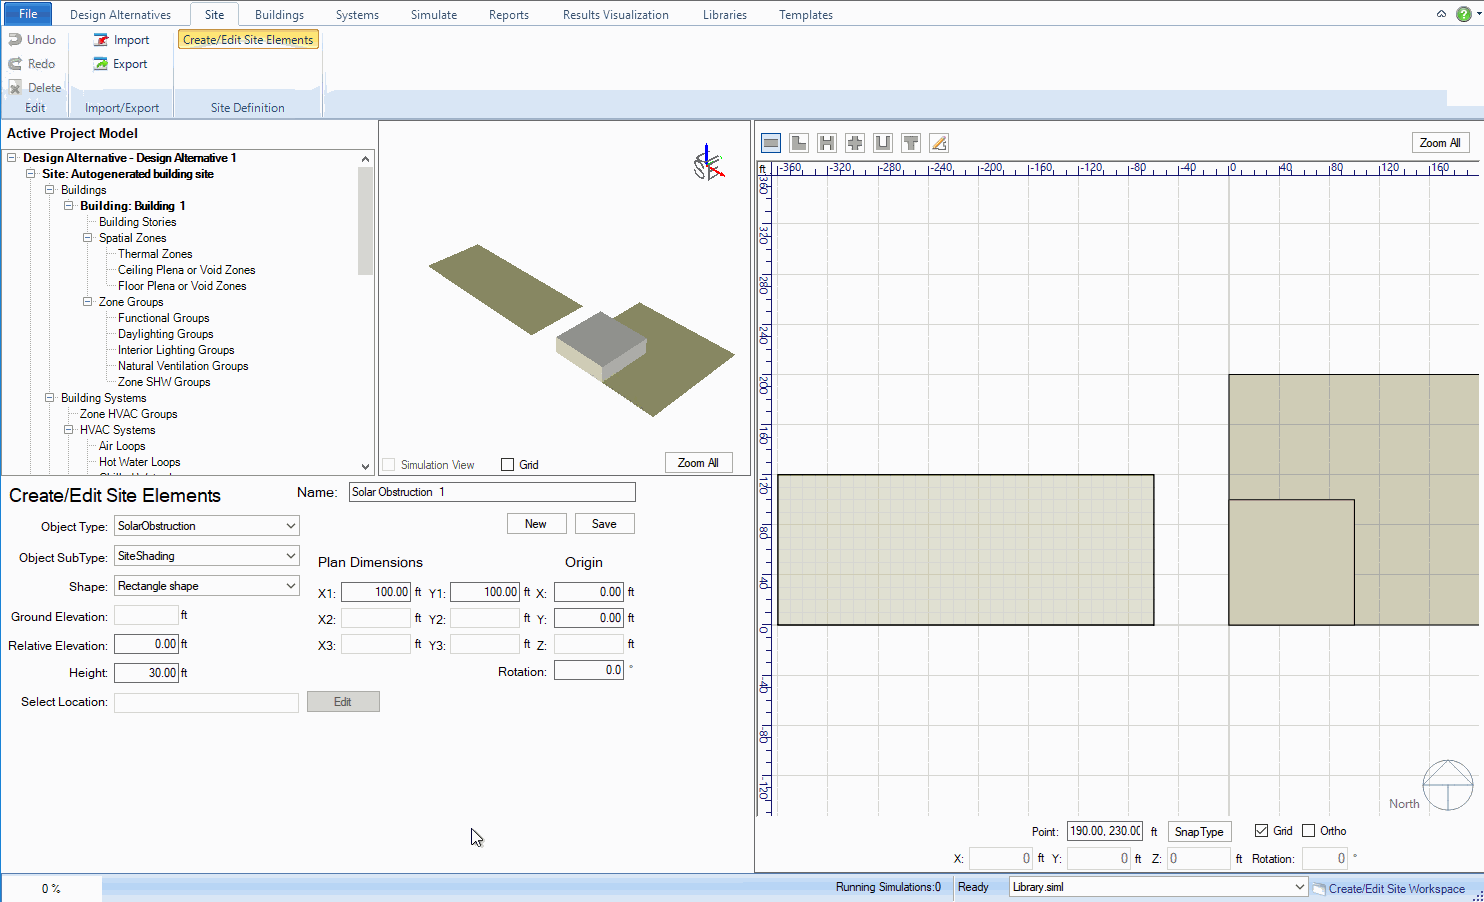
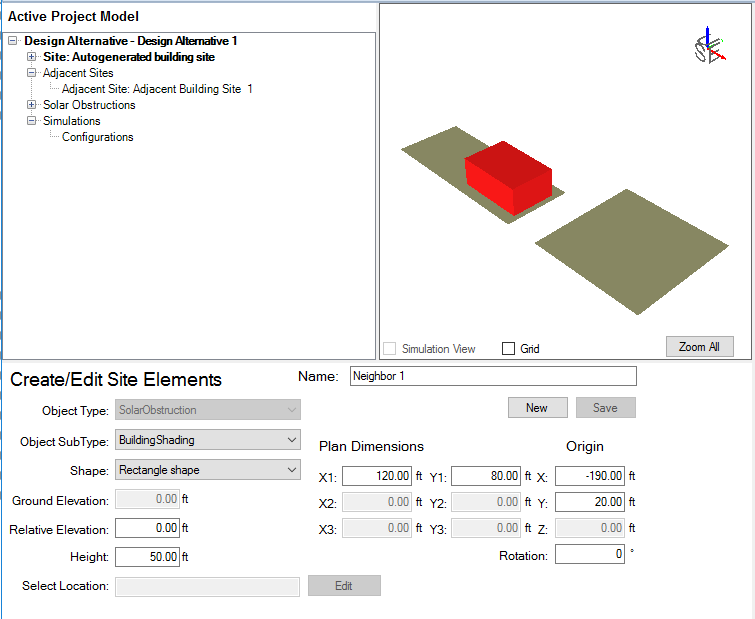
This example goes through the steps to create two Solar Obstructions on the adjacent site (as shown on the image) that was created in the previous example.
Creating Solar Obstruction 1:
Note: The new Solar Obstruction has been added to the Active Project Model Tree under Solar Obstructions. When the user selects the Solar Obstruction object (as shown in the image), then they can make changes to the Shape, Plan Dimensions, Origin or other and then select Preview to view the changes and Save to incorporate them into the model.
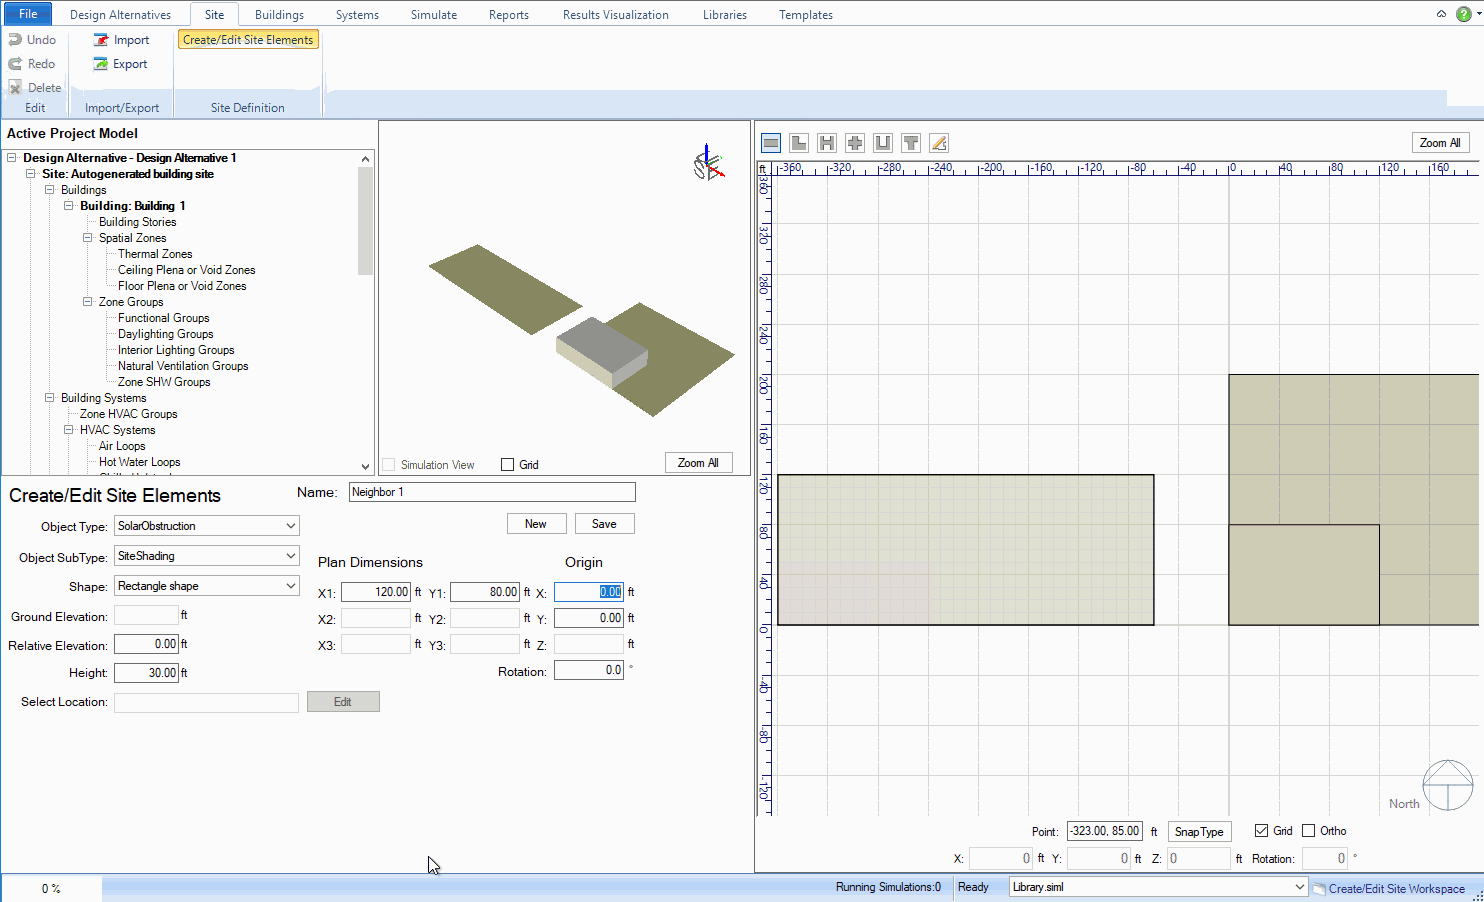
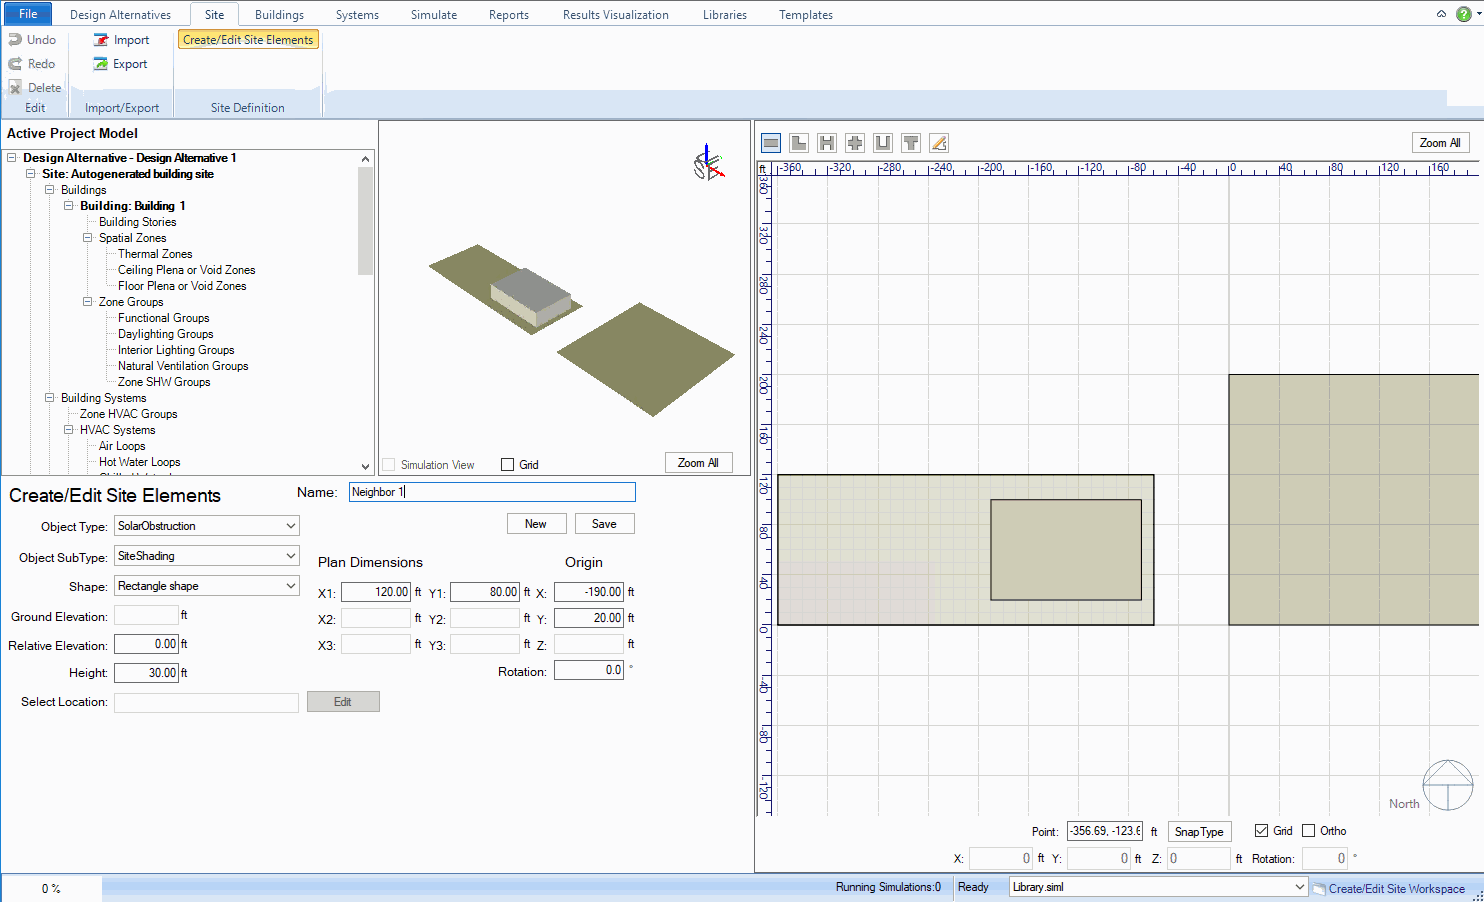
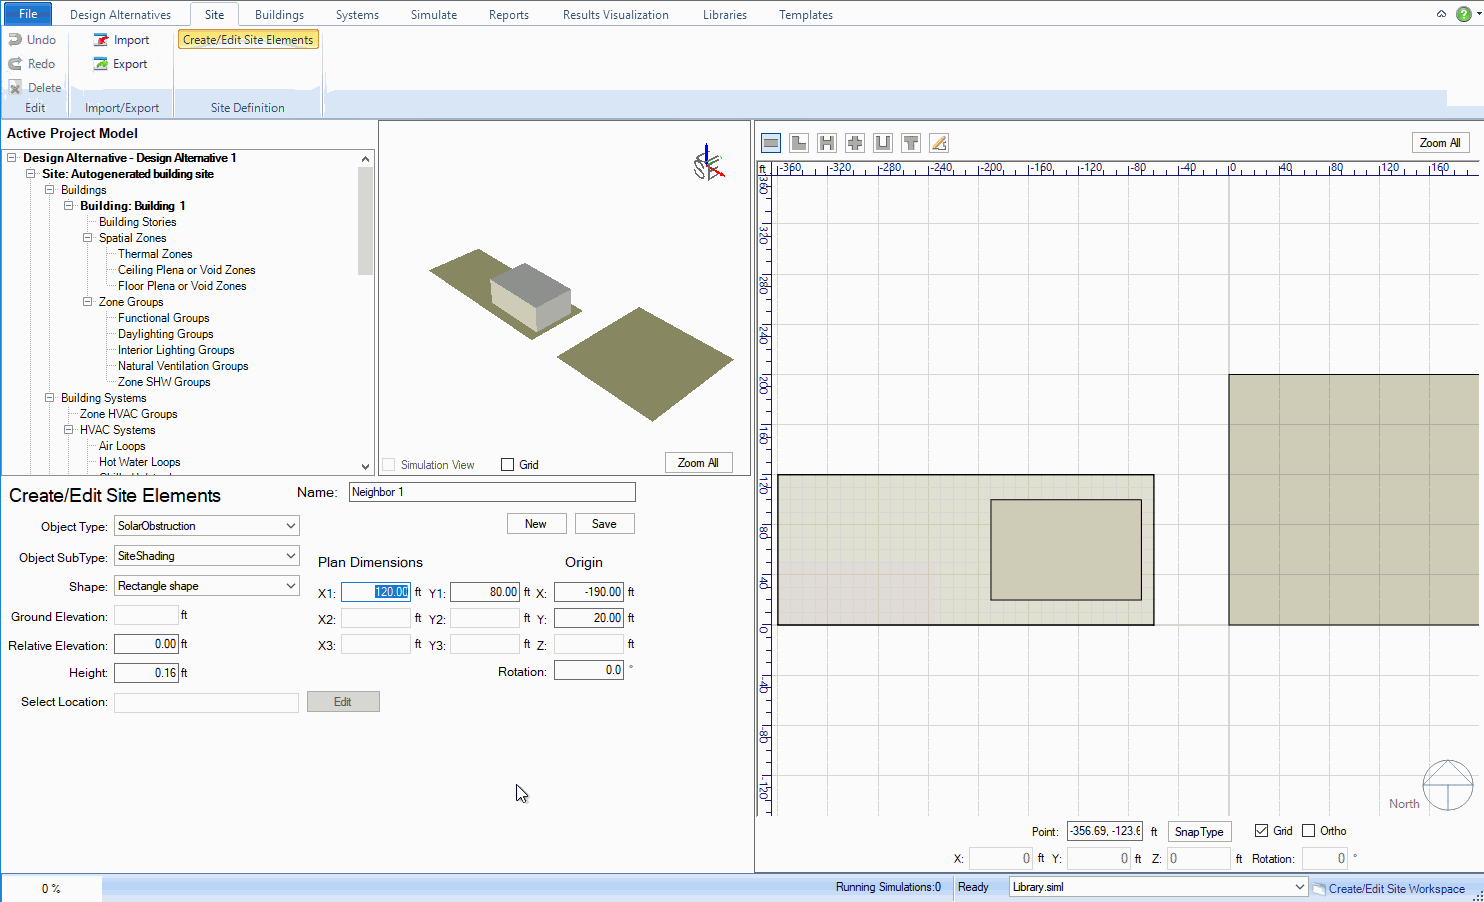
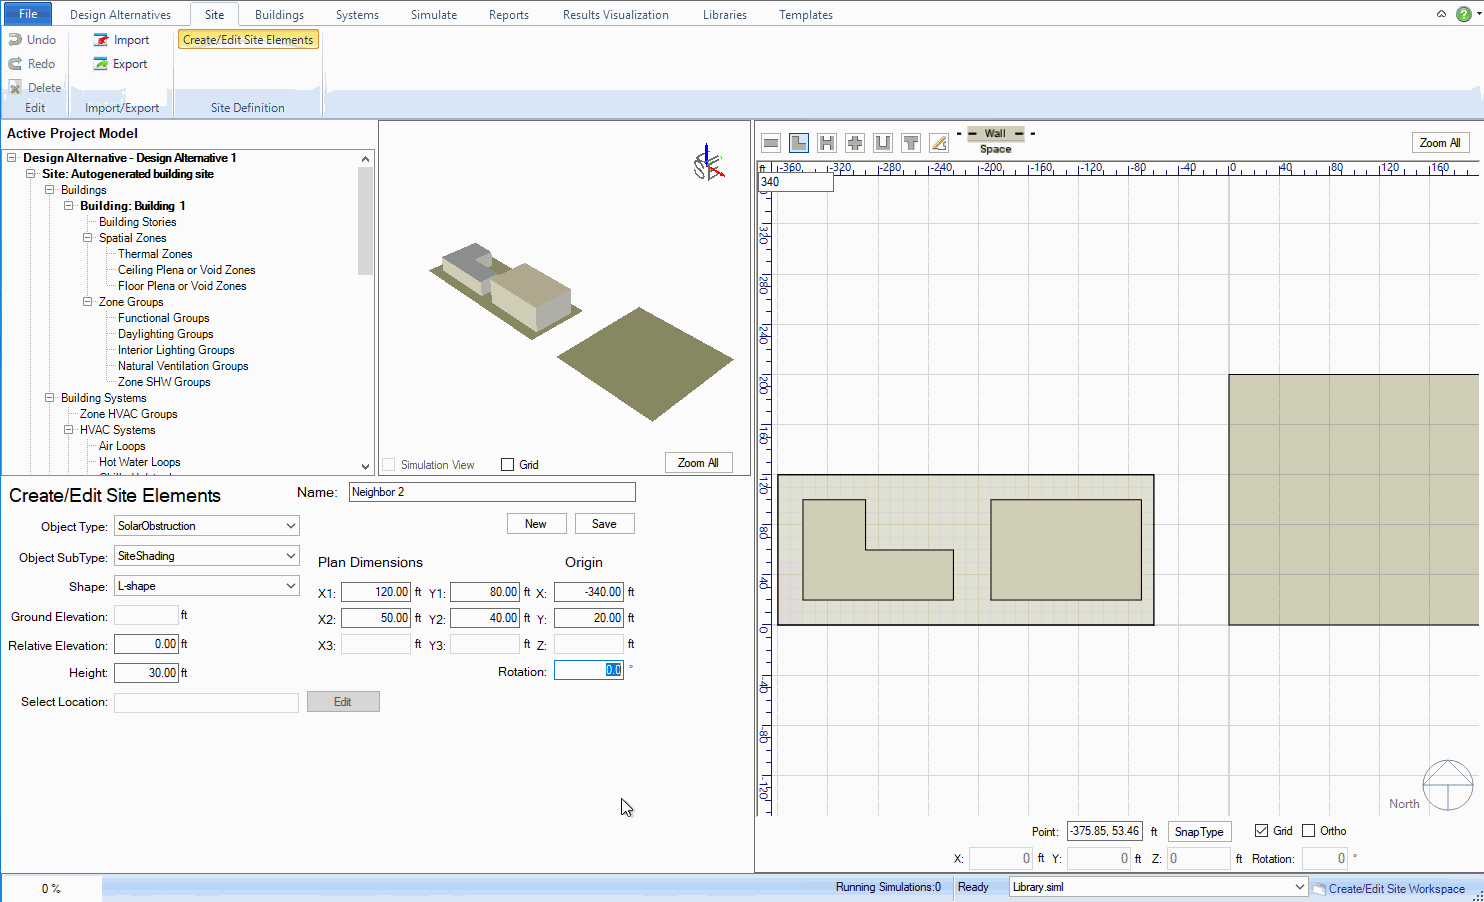
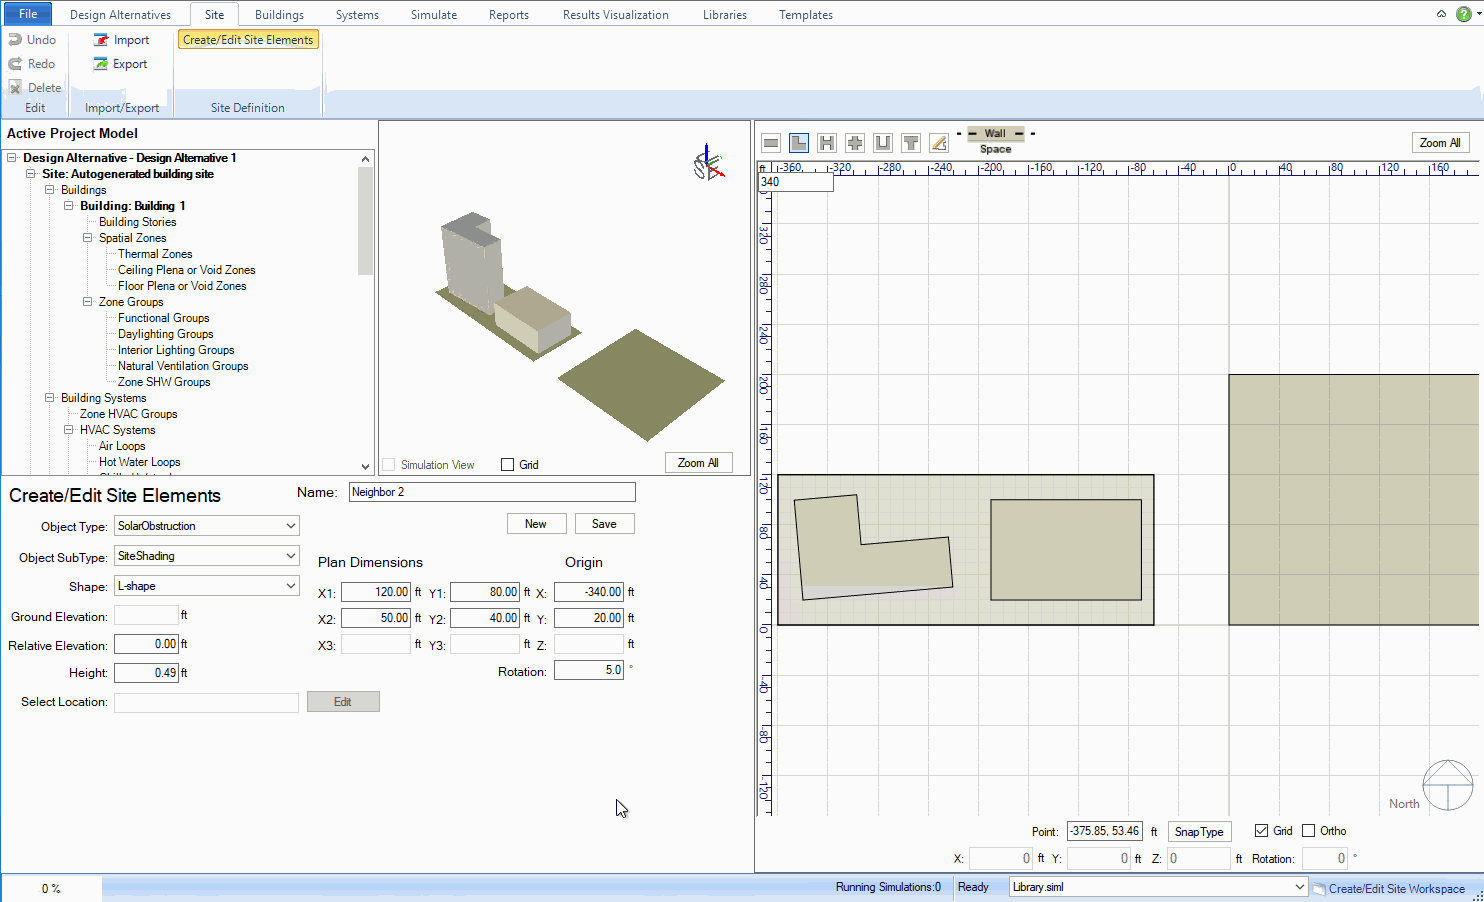
Creating Solar Obstruction 2:
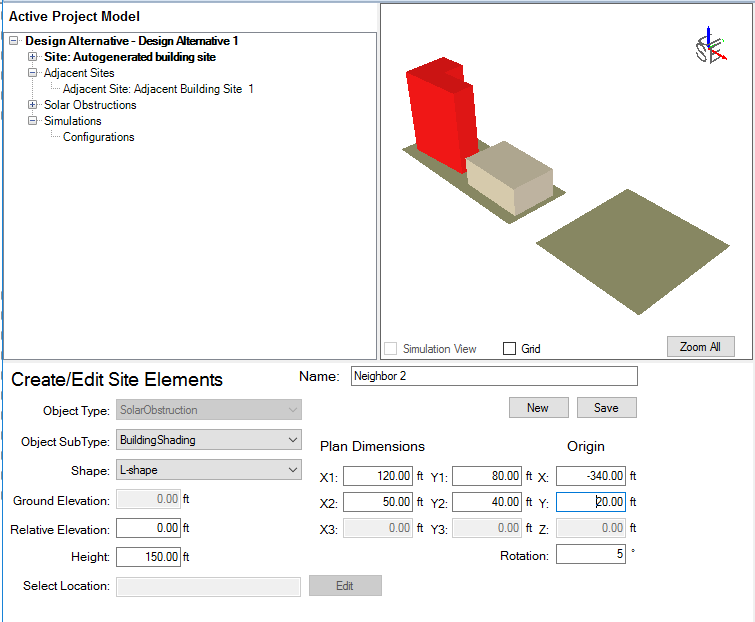
Note: The new Solar Obstruction has been added to the Active Project Model Tree under Solar Obstructions. When the user selects the Solar Obstruction object (as shown in the image), then they can make changes to the Shape, Plan Dimensions, Origin or other and then select Save to incorporate them into the model.
______________________________________________________________________________________
© Copyright 2013 Simergy, Sustainable IQ, Inc.