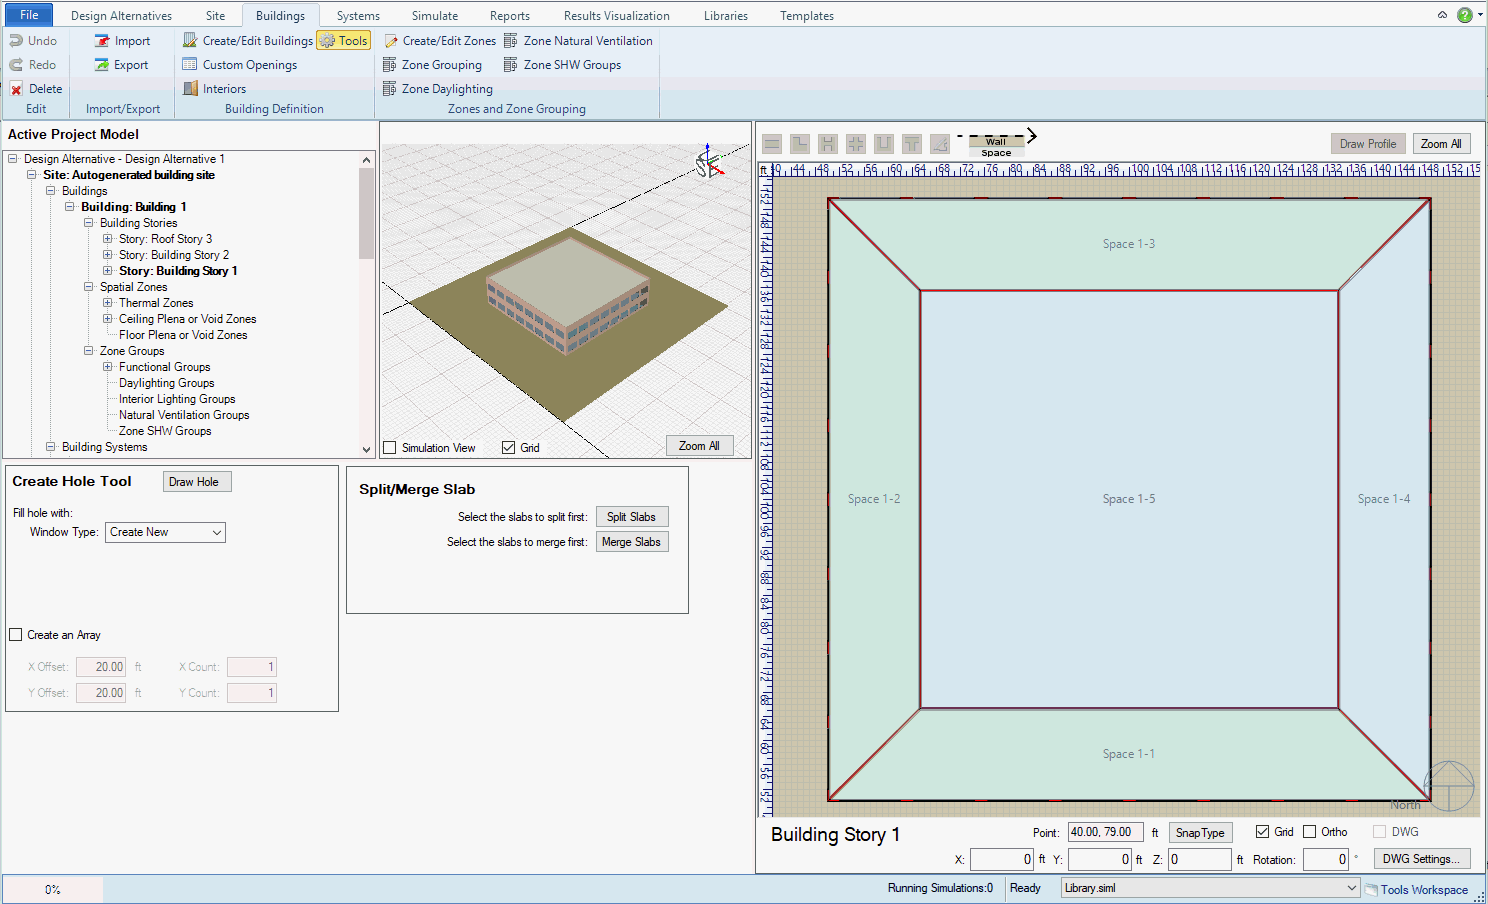
Scenario: Let's say your two story building has an atrium, which connects the ground floor and the second floor, and you want to create it in Simergy.
How to go about doing it:
Create the spaces for each floor, using either the default thermal zoning option selection, the imported thermal zones or customizing the thermal zoning using Custom Spaces tools.
For this simple example we will use the ASHRAE System 7 Sample file to demonstrate the process:
In the Buildings workspace, click the "Tools" button in the ribbon menu.
From the Project Tree select "Story: Building Story - 2". Note how the floor plan is shown in the 2d view.
Select "Draw Hole" in the Create Slab Hole section (the 2d view and plan are now activated)
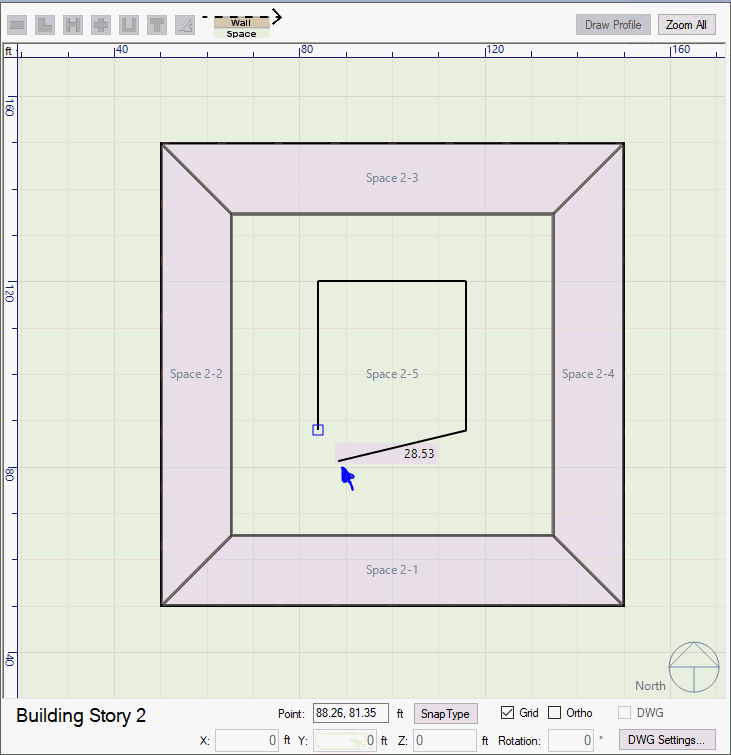
Draw the desired hole in the 2d view
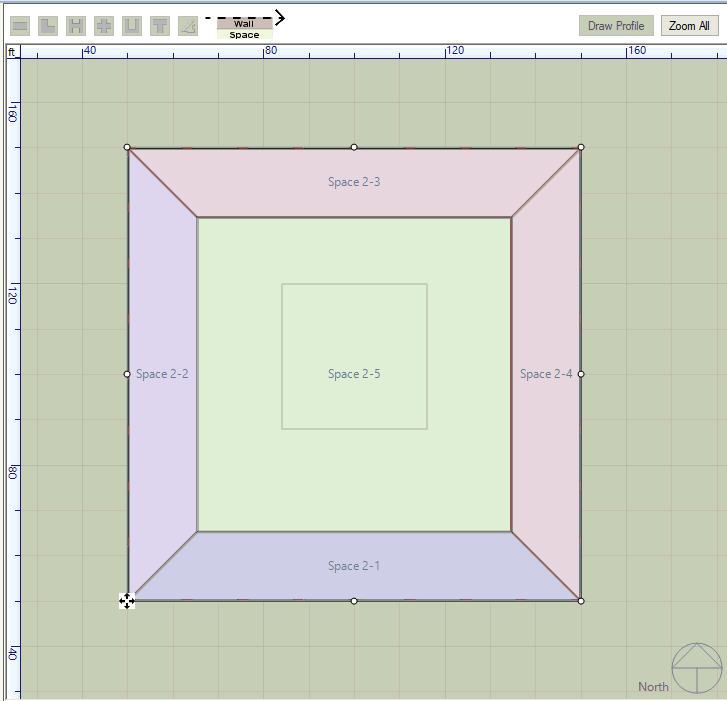
Click "Draw Hole" again to disable drawing mode, and the hole has been created and saved to the model.


Figure - shows a number of the different steps described above for creating a hole on the 2nd floor. The green square in the center of the 2d view on the right is the completed hole. The lighter green colored areas are thermal zones.
The next step is to create a hole in the First Floor ceiling to connect the two floors, otherwise they would not fully be connected. Steps 2-7 will be repeated in a similar fashion, however there is one key difference. For Step 5 only "Ceiling" should be selected

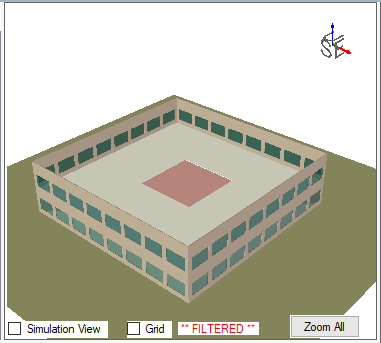
The hole is easily seen in the 3D viewport after hiding building elements on the 2nd Story
______________________________________________________________________________________
© Copyright 2013 Simergy, Sustainable IQ, Inc.